Smartphone Controlled Arduino Robot Car

How To Make Smartphone Controlled Arduino robot car At Home that is very easy and fun to make, in this post all materials, codes and circuit diagram is given so that everything will be handy if your are making this project!
Note: Time is precious so this article is in focus for minimal reading time with maximum effectiveness in knowledge hope you will take full advantage without missing any steps!
What is Smartphone controlled Arduino robot car
We might have come across wireless remote controlled cars in our childhood days. Wow! those good old days but sadly those were less powerful and consumes lots of non rechargeable batteries power.
Well those was not point to be focus here it was just an overview of what wireless car is for complete newbies.
The robot which we are building here will be completely control by smartphone with which forward, backward, right turns and left turns with individual wheel control is possible.
Interesting thing here is this runs on long period of time as dual lithium ion batteries powers this robot
Supplies requirement
- Wood board 17*9.5 cm / Thick cardboard can be your alternative
- BO Motor and wheels IN INDIA / USA
- Node mcu Get in INDIA / USA and L293D motor driver Buy in INDIA / USA
- Lithium ion battery
- Hot glue
- Jumper wires
- Arduino ide and cable to connect with computer
Disclosure: These are affiliate links. As an Amazon Associate I earn from qualifying purchases at no extra cost for you.
Building steps
After necessary supplies are in your table start by marking slots to BO motor also some call it as TT motors or geared motors to wood board as in below visual
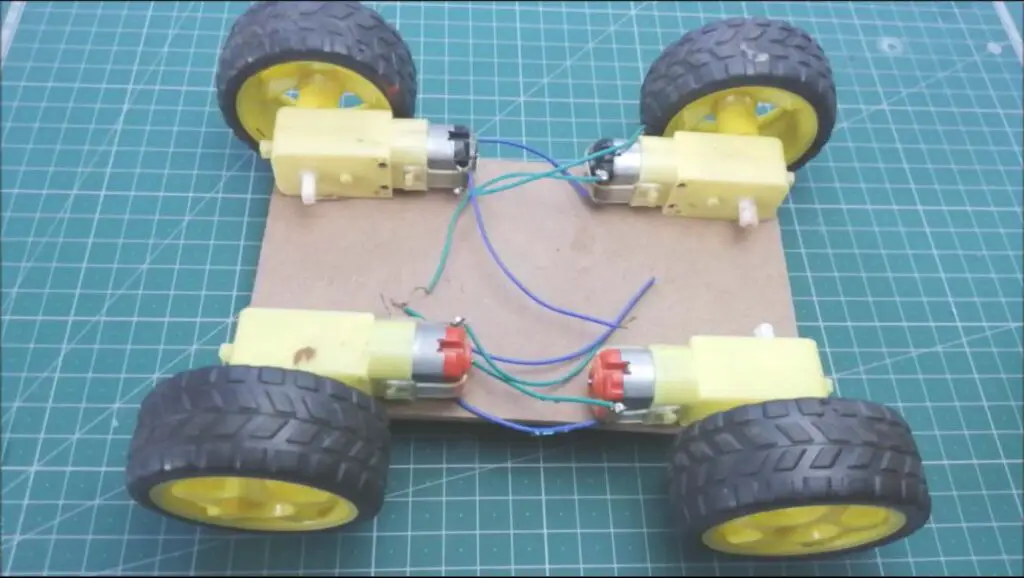
After your exact spots are done marking just glue BO Motors at four sides as shown in visual, Later attach wheels to shaft of BO motors
Note: i use dual shaft motors but i recommend you to use single shaft dc motors, Well it’s just an option
I use 9.5*17cm board which worked good for me you can choose wisely as per your needs
Circuit Diagram for Smartphone controlled Arduino robot car

Follow this circuit diagram to make connections
Adding switch is always better to have good control of power on and off, as an addition i add simple LED strip for appealing look that glows always when the power is on
This was connect directly to battery and switch
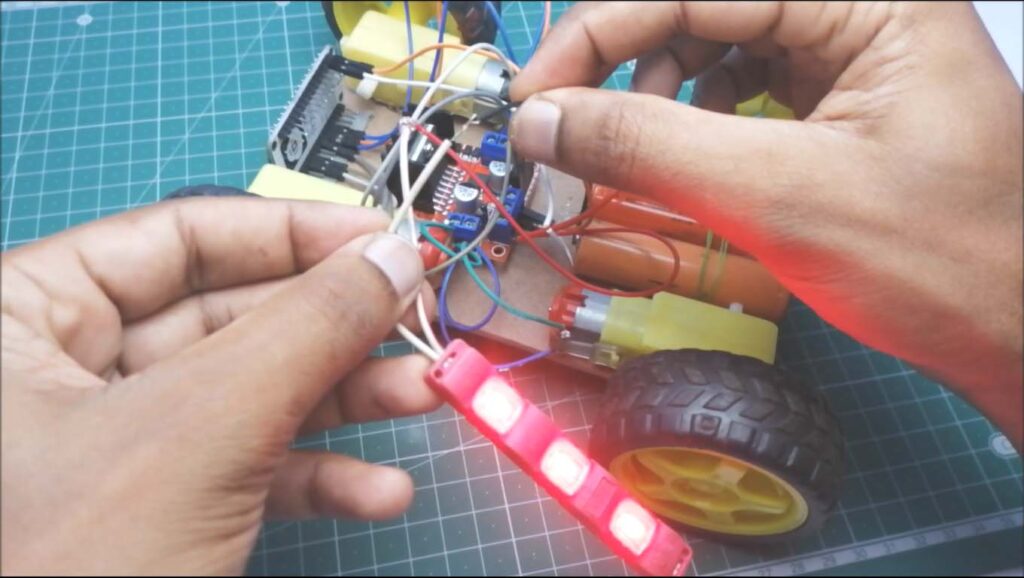
After making circuit make sure all the open terminals are cover with tape or hot glue as this car involves lot of movements as result of which no short circuit shouldn’t occur
smartphone controlled arduino 4wd robot car code
Just copy paste this code to arduino ide and upload to node mcu
Make sure all libraries are install first and check for port number and type of board if these are not done error will be thrown
After code upload is complete successfully
Download application here
Once you get this app install on your phone
Switch on car first later Open wifi settings in your phone
connect to car network and Open this application
Click navigation buttons and enjoy your car ride!
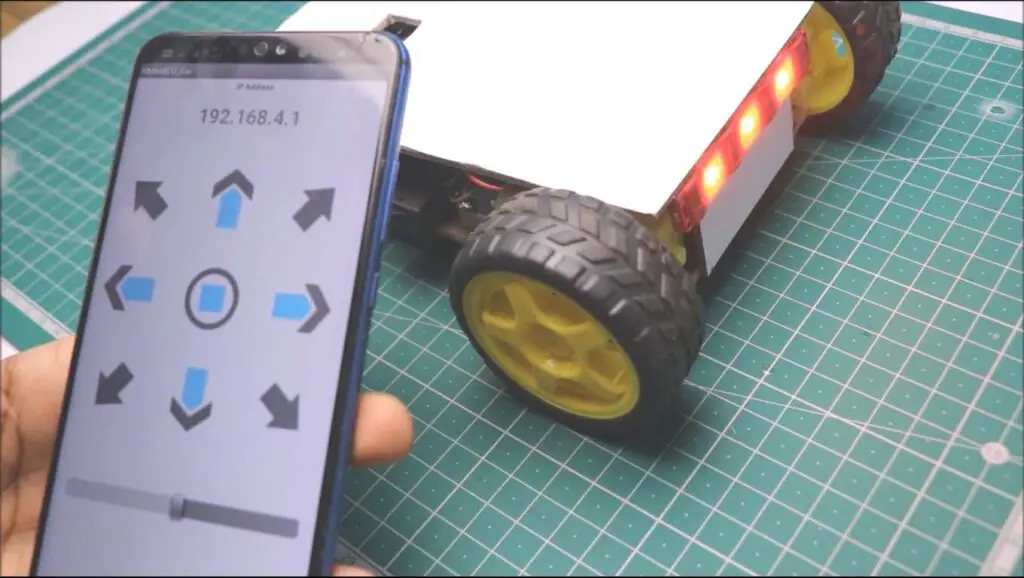
Control panel from smartphone app is shown in above visual
Well that was all about this simple yet amazing project, Glad you read till end , Let me know if you want any help while you make this project in comments box i would be happy to help, Thanks
Video tutorial on how to make a smartphone control mobile robot can be found Here

