Automatic Dustbin Using Arduino

Hello builders in this project I made Automatic Dustbin Using Arduino that opens automatically when you bring trash closer.
After you drop the trash the dustbin closes automatically after 2 seconds, How cool is that!
There is no limit to scaling, I have used small dustbon you can implement on larger version also with high torque servo.
You can build this arduino project and have hands on experience on the electronics and the mechanics part.
I have given 2 different circuit diagram and code
First is for automatic dustbin using ultrasonic sensor and servo and the second is automatic dustbin using an infrared sensor and servos.
Note: Tutorial video for all arduino projects is available on my YouTube channel.
You may also like our previous project on Arduino RFID Password Gate lock Project
With this being said let me give you the list of materials that you will need to make this project.
- Arduino Uno from here
- Ultrasonic Sensor
- Micro Servo
- Jumper cables
- Pieces of cardboard
- Hot glue
Note that if you buy from above amazon affilate links i may receive a small percent of your sales at no extra cost to you.
Automatic Dustbin Circuit Diagram
This circuit diagram is for dustbin project using ultrasonic sensor and servo.
The circuit for this project is pretty straight forward.
I will break down the components and explain you step by step.
There are 2 main components here one is the ultrasonic sensor and the other being micro servo.
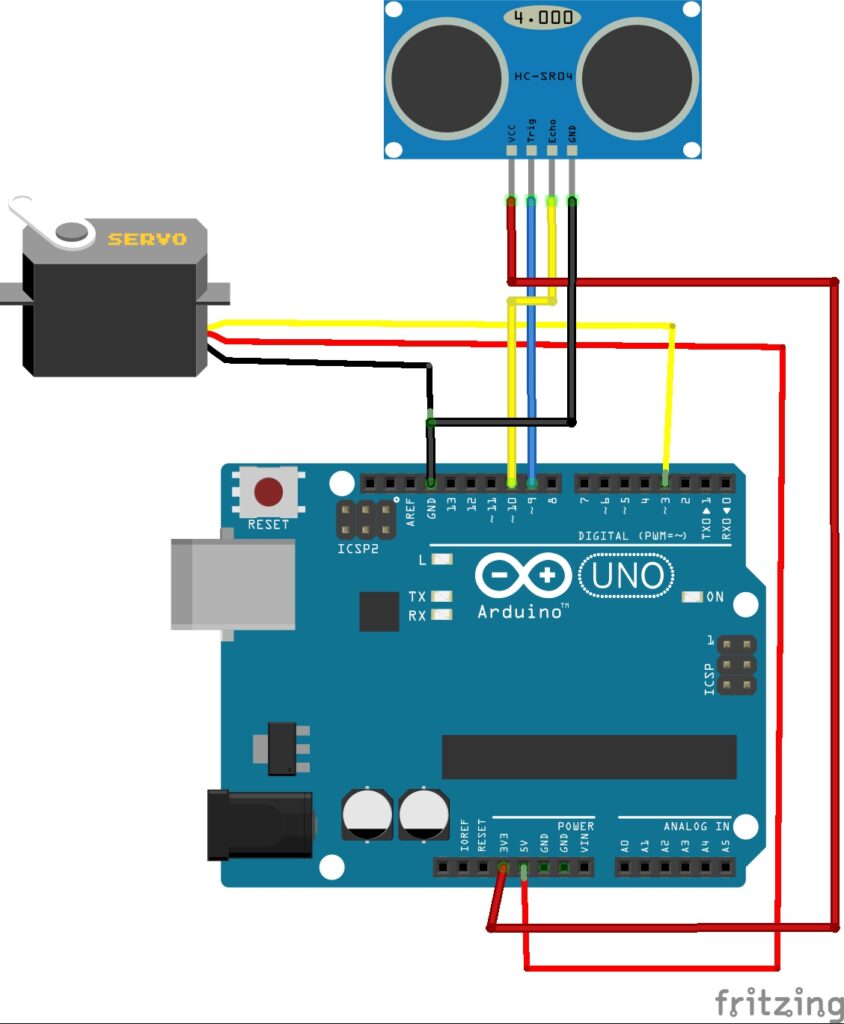
Servo Connections
I will use micro servo the one with plastic gears, you can use metal gear if you need more torque.
The micro servo has 3 pins and like always the Gnd and Vcc to ground and the 5v pin of the Uno.
The signal or the yellow wire goes to D3 pin of Uno.
Ultrasonic sensor connections
The sensor has 4 pins and the connections are as follows.
Trig to D9 and the Echo t0 D10.
Gnd and Vcc to ground and 5v pins on the uno board.
Codes for the Arduino Automatic Dustbin Project
This is the program that we are using for this dustbin project that controls the servo when obstacle is detected.
#include <Servo.h>

Servo lidServo;

const int trigPin = 9;
const int echoPin = 10;
const int servoPin = 3;

long duration;
int distance;

void setup() {
  lidServo.attach(servoPin);
  pinMode(trigPin, OUTPUT);
  pinMode(echoPin, INPUT);
  lidServo.write(0); // Lid closed position
  Serial.begin(9600);
}

void loop() {
  // Send ultrasonic pulse
  digitalWrite(trigPin, LOW);
  delayMicroseconds(2);
  digitalWrite(trigPin, HIGH);
  delayMicroseconds(10);
  digitalWrite(trigPin, LOW);

  // Read the echo
  duration = pulseIn(echoPin, HIGH);
  distance = duration * 0.034 / 2; // Convert to cm

  Serial.print("Distance: ");
  Serial.println(distance);

  if (distance < 10) { // Hand detected within 10cm
    lidServo.write(90);  // Open lid
    delay(3000);         // Keep open for 3 seconds
    lidServo.write(0);   // Close lid
  }
  delay(200);
}
This code is very simple to understand and use, i recommend experimenting with the values to learn in depth.
Start by opening the arduino ide and pasting this program, select proper board and com port and upload.
If you are facing any issue you can put that in the comments i will help to resolve.
If you miss any library(for new install of IDE) install it first then proceed with the upload.
Here we are using servo library you can get this library from official arduino
Building the dustbin and adding the electronics
I will start by preparing the dustbin first, i will use my recycled box that i got from pen box.
To make the project look good i used a cardboard base to which i glued the box and added electronics to the side.
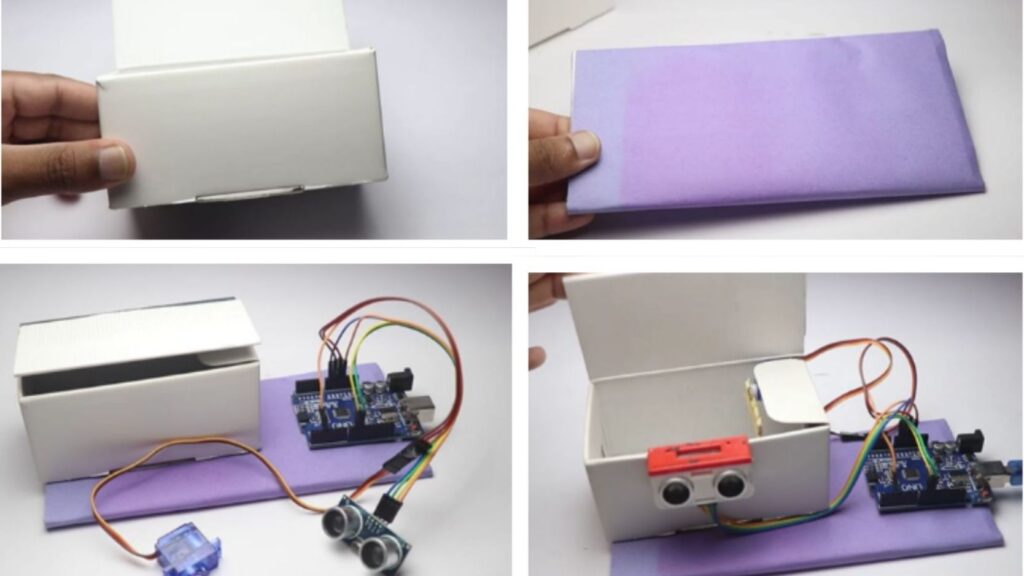
To make it easier for understanding i have added the stepwise pictures so anybody can follow.
Place the electronics as show in these steps and if you need any further modifications you can do that too.
To extend the servo shaft i added a popsicle stick.
The logic here is when you lift the lid is freely lifted by servo and to come back i used weights on the lid.
Thanks to the gravity that brings the lid when the servo comes down.
I have powered this project with a usb source and a power bank.
Arduino automatic dustbin with infrared sensor Circuit Diagram
If you are using an IR sensor and servo follow this circuit diagram.
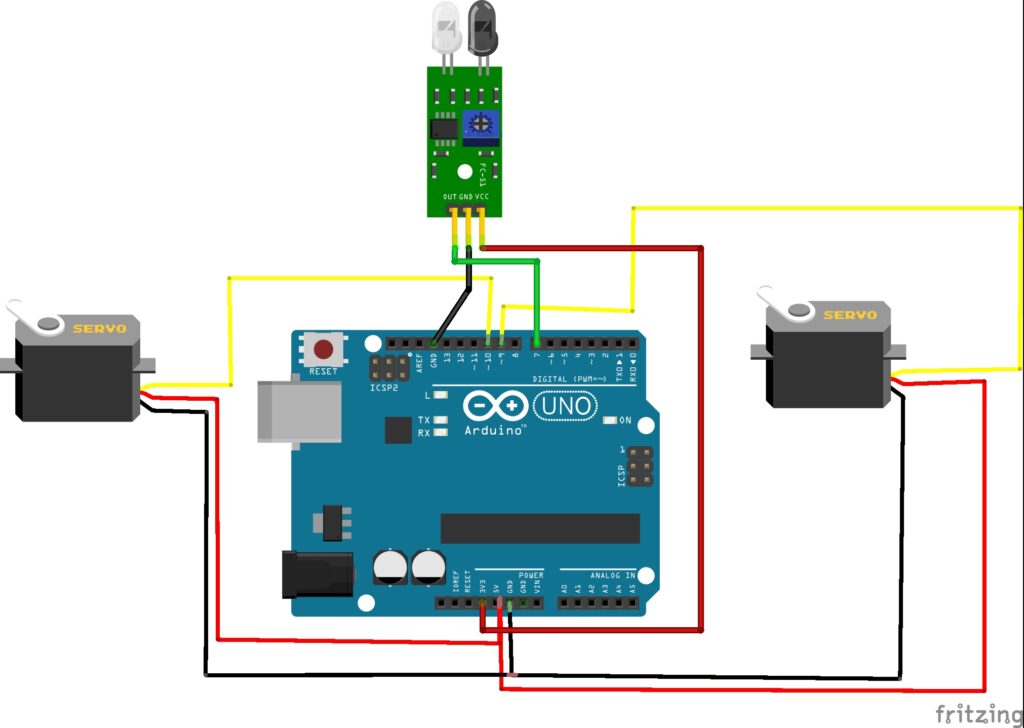
Here we are using 2 servos and the pins are connected to D9 and D10 of the uno board.
The infrared sensor signal is connected to d7 and the power pins to 3v and gnd respectively.
Arduino Automatic Dustbin with Infrared Sensor Code
Use this code on your Arduino IDE to make smart dustbin using IR sensor and servo.
#include <Servo.h>

Servo servo1;
Servo servo2;

int irSensor = 7;       // IR sensor output pin
int posOpen = 90;       // open position for lid
int posClose = 0;       // closed position for lid

void setup() {
  servo1.attach(9);      // first servo on pin 9
  servo2.attach(10);     // second servo on pin 10
  pinMode(irSensor, INPUT);
  servo1.write(posClose);
  servo2.write(posClose);
}

void loop() {
  int sensorValue = digitalRead(irSensor);

  if (sensorValue == LOW) {  // LOW means object detected (for most IR modules)
    servo1.write(posOpen);
    servo2.write(posOpen);
    delay(5000);             // lid stays open for 5 seconds
    servo1.write(posClose);
    servo2.write(posClose);
  }
}
Even here if you face any issue with library install the missing library first and continue the upload.
That is all about the making of Automatic Dustbin Using Arduino, Thank you for reading.
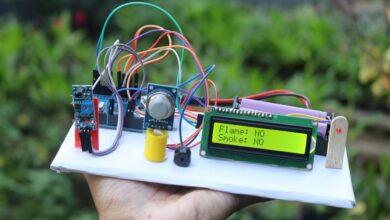
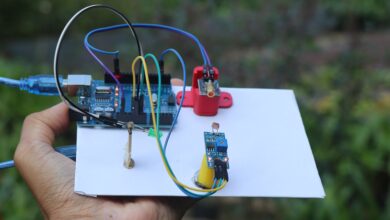
Arduino Dustbin using IR sensor and servos project
You can see i was able to assemble all the electronics and have this build.
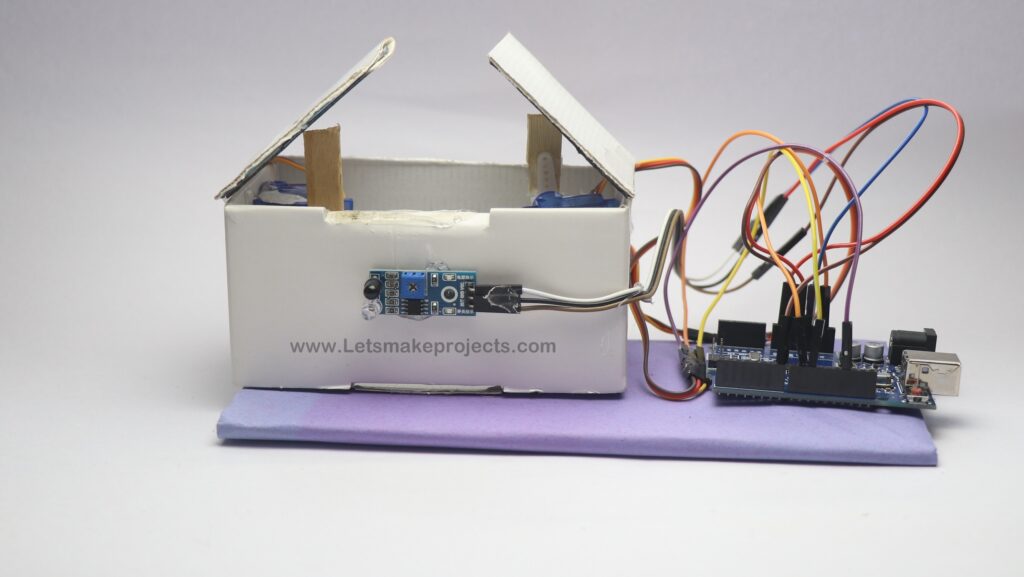
You can replace ultrasonic sensor with infrared sensor and get the same results.
To make the opening look cool i used dual servos.
Well now you know to make smart dustbin using IR sensor and servo using Uno.
Thank you for reading and have a happy build and if you have any questions ask in the comments.