Make Arduino Powered Pi Printer
Hello people in this post i will show how to make Arduino powered pi printer that prints pi.
This is a very interesting project that you should make as you will learn a lot of things.
Let me tell you what this project is actually about.
Pi is the biggest invention we could say that directly relates with the universe.
Pi day is celebrated every year to honor this invention, i also wanted to make something that resembles pi in some way
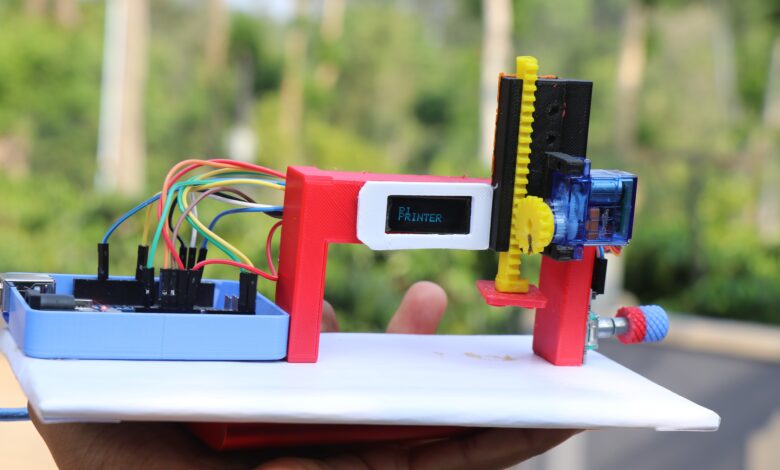
I made this pi printer machine, you can simply select the number of pi you want and press button.
You can print the pi on your cookie or paper as a stamp, it runs on arduino uno and servo slider mechanism.
All the statuses can be seen live on an oled display.
You may also like my previous project on real time lpg detection system
Materials to make this project
- Arduino Uno
- Oled display
- Rotary encoder
- Jumper Cables
- Micro servo
- 3D printed parts
- Slicer
- 3D printer
- These are the supplies you will need double side adhesive is optional
Arduino Powered Pi Printer Circuit Diagram
To begin with using the components and this circuit diagram make the circuit.
Note: I have given full video of build tutorial below, Don’t miss to check it

Circuit may take some time if you are new to electronics, Dont worry i will split circuit stepwise.
OLED Module Connections
OLED has 4 pins and out of this we can connect Gnd and Vcc to 5v and ground pin on the Uno board.
Scl and Sda is connected to A5 and A4 pin of the uno board.
Use jumper cables to connect between these components.
Servo Connections
Signal pin from the servo will be connected to digital pin 9 on the uno.
Power pins like the oled module we will connect 5v and Gnd to 5v and the ground pins.
There is no need to use additional power sources i was able to power this from the board itself without any issue.
Rotary Encoder Connections
Clk is connected to D2, Dt pin is connect to D3 pin
Sw on the encoder will be connect to D4 and the power pins Gnd to Ground and the Vcc to 5v pin on the uno board.
These will complete the connection part and now you can connect uno to computer via cable and open IDE.
Program for Pi Printer Machine using Arduino
#include <Wire.h>
#include <Adafruit_GFX.h>
#include <Adafruit_SSD1306.h>
#include <Servo.h>

// OLED 128x32
Adafruit_SSD1306 display(128, 32, &Wire);

// Encoder
#define CLK 2
#define DT 3
#define SW 4

// Servo (UPDATED RANGE)
#define SERVO_PIN 9
#define SERVO_MIN 10
#define SERVO_MAX 170

Servo myServo;

int count = 1;
int lastCLK;
bool printing = false;

void setup() {
  Wire.begin();

  pinMode(CLK, INPUT);
  pinMode(DT, INPUT);
  pinMode(SW, INPUT_PULLUP);

  myServo.attach(SERVO_PIN);
  myServo.write(SERVO_MIN);

  display.begin(SSD1306_SWITCHCAPVCC, 0x3C);
  display.setTextColor(SSD1306_WHITE);

  lastCLK = digitalRead(CLK);

  showWelcome();
}

void loop() {

  if (!printing) {
    readEncoder();
    showInputScreen();

    if (digitalRead(SW) == LOW) {
      delay(200);
      printing = true;
      startPrinting();
      printing = false;
      delay(1000);
    }
  }
}

// 🔁 Encoder
void readEncoder() {
  int currentCLK = digitalRead(CLK);

  if (currentCLK != lastCLK) {
    if (digitalRead(DT) != currentCLK) {
      count++;
    } else {
      count--;
    }

    if (count < 1) count = 1;
    if (count > 20) count = 20;
  }

  lastCLK = currentCLK;
}

// 🖥️ UI
void showWelcome() {
  display.clearDisplay();
  display.setTextSize(2);
  display.setCursor(10, 8);
  display.println("PI");
  display.setCursor(10, 18);
  display.println("PRINTER");
  display.display();
  delay(1500);
}

void showInputScreen() {
  display.clearDisplay();

  display.setTextSize(1);
  display.setCursor(0, 0);
  display.print("SET PI COUNT");

  display.setTextSize(2);
  display.setCursor(45, 14);
  display.print(count);

  display.display();
}

void showPrintingScreen(int i) {
  display.clearDisplay();

  display.setTextSize(1);
  display.setCursor(0, 0);
  display.print("PRINTING...");

  display.setTextSize(2);
  display.setCursor(35, 14);
  display.print(i);
  display.print("/");
  display.print(count);

  display.display();
}

void showDone() {
  display.clearDisplay();

  display.setTextSize(2);
  display.setCursor(25, 8);
  display.print("DONE");

  display.display();
}

// ⚙️ Smooth Servo Movement
void smoothMove(int startPos, int endPos, int stepDelay) {
  if (startPos < endPos) {
    for (int pos = startPos; pos <= endPos; pos++) {
      myServo.write(pos);
      delay(stepDelay);
    }
  } else {
    for (int pos = startPos; pos >= endPos; pos--) {
      myServo.write(pos);
      delay(stepDelay);
    }
  }
}

// 🧠 Printing Logic (~5 sec per cycle)
void startPrinting() {

  for (int i = 1; i <= count; i++) {

    showPrintingScreen(i);

    smoothMove(SERVO_MIN, SERVO_MAX, 15); // faster but longer range
    delay(1500); // press hold

    smoothMove(SERVO_MAX, SERVO_MIN, 15);
    delay(1000);
  }

  showDone();
}
If you face any problem at the time of upload ut will be the library issue you can check for servo library here.
Select proper port number and board type and now click on the upload button.
After you upload the code the oled starts to show the message., Now you can verify the circuit for its working.
Final circuit working
Simply connect the uno board to computer through usb cable and you will see a display message from the oled.
Pi printer will be the first message and then you will see option to enter number of pi.
I have limit it to 4 you can change it from the program, Use the rotary encoder to increase or decrease the number of pi.
Once you select the number of pi using the rotary encoder you can click on center button to select the option.
After you press ok if everything is right the servo should move as shown in the picture above.
It takes 5 seconds to move the slider from start to end position even this can be changed if you are using delay in program.
If this seems to work fine we can head over to assembling the electronics on board.
I will start by placing the uno board on the cardboard and after that using hot glue to secure it to the base.
I had 3d printed base from my previous project, so i will be keeping uno here.
If you want to make this device more smaller you can use PCB and i would suggest JLCPCB
They have very fast shipping and pricing are affordable also, check their 3d printing services with fast turn around time.
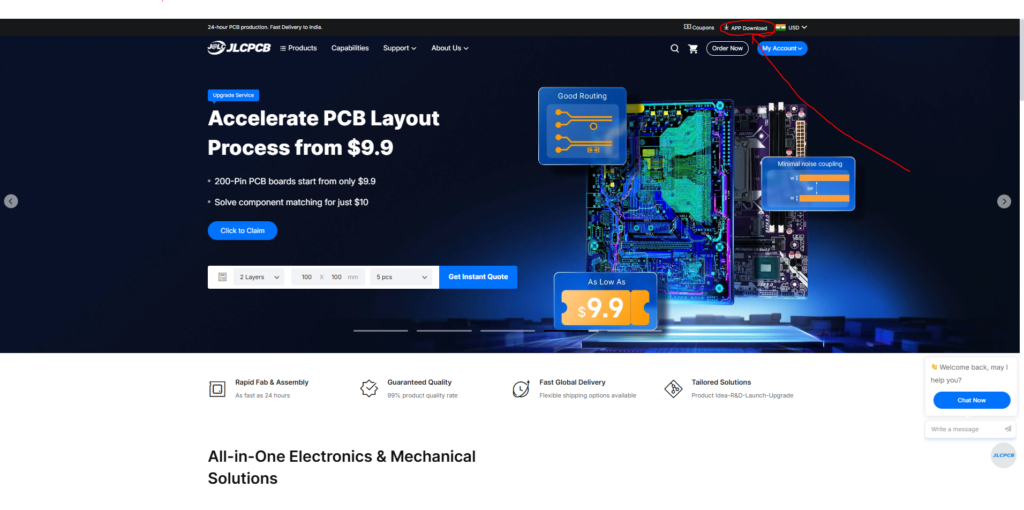
They have fast shipping with more affordable options, and now they have JLCONE which makes everything pretty much easier.
JLCONE is a application that is available for both desktop and mobile and you can manage your orders and other services in a single platform.
How to use
Using this arduino powered pi printer is very fun, i will power this from powerbank with usb.
I have setup the components on 3d printed parts and you can follow with ease.
Setup the components and then you can have this final setup.
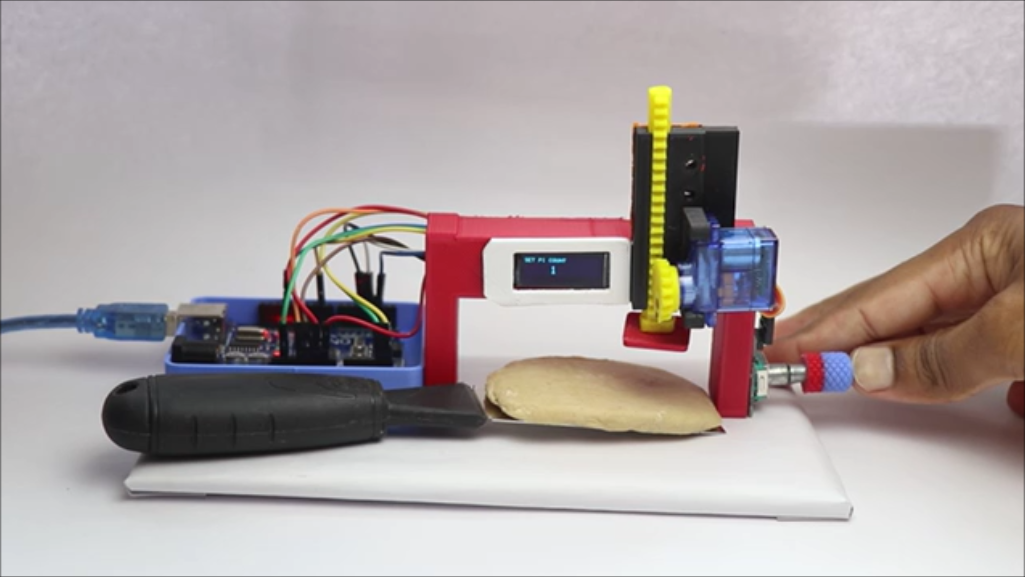
When you power on the display will show you how many number of pi you wish to see.
Using rotary encoder select the number of pi that you will to print on the paper or the dough.
I went and selected 2 and then press ok, now place the object where you want pi.
It will press the pi and leave a mark, you can use stamp with stamppad also.
This was all about this project, If you have any questions ask it below, Thanks 🙂
I Didn’t forget here is the video tutorial for this project.


