Arduino RFID Toll System with OLED display

Hey There in this tutorial we will see how to make Arduino RFID Toll System with OLED display that shows messages in real time.
You might have seen the multiple projects that are related to automated toll collection systems using RFID but this is the first time you will see an OLED display here.
Here there are lots of benefits in using the OLED display in this project the first advantage is the real-time messages that this module displays.
The second advantage is you don’t need to use the serial monitor in your arduino ide to find out the UID.
When you are tapping the RFID tag on your board the OLED board shows the UID of the RFID tag.
To begin with, let us gather all the materials required for this project.
Materials for Rfid Based Toll Gate Automation
- Arduino Uno
- Micro servo
- Programming cable and IDE
- RFID module
- OLED display module
- Jumper wires and a small breadboard
- 3D printed things (optional)
After you have all these components we can head over to building the circuit.
Follow this circuit diagram to make connections.
Circuit diagram for Arduino RFID Barrier System With OLED Display
This is the circuit that we will use in this project, below I will explain the connections components wise.
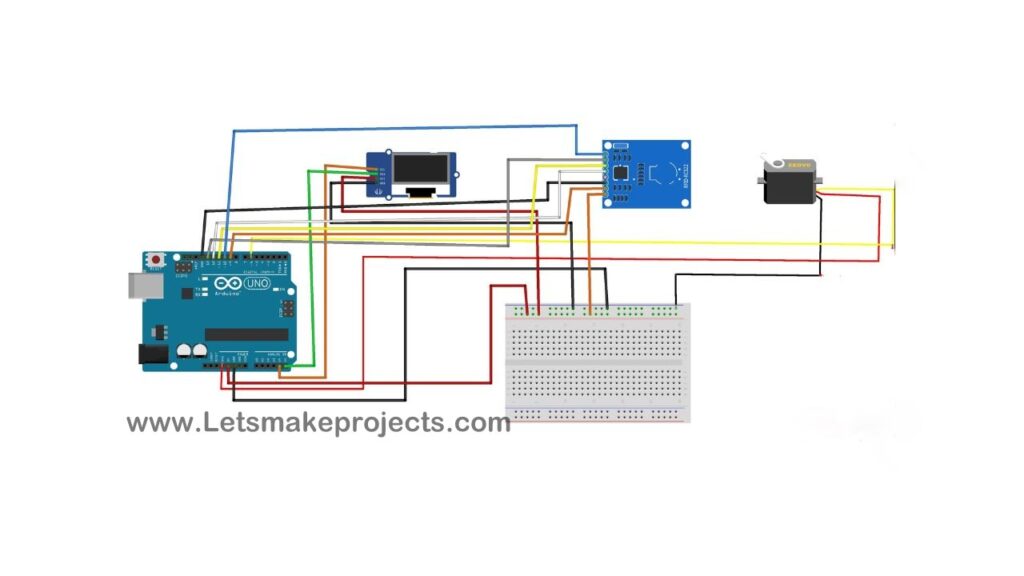
Circuit to connect Arduino uno and RFID module
- SDa to D10
- Sck to D13
- Mosi to D11
- Miso to D12
- Rst to D9
- power pin to rails of breadboard
Circuit connection for OLED
Scl and Sda to A5 and A4 pin on the Uno and the power pin to rails on the breadboard.
Servo has 3 pins, Power pins go with power rails on the breadboard whereas the signal pin to D6.
Now to sum up connect the 5v and Gnd from uno to breadboard rails.
This completes the circuit for this project.
Arduino code for Automatic Toll Collection System using RFID
Here is the arduino program for this project
Just paste this code on your IDE, Select the proper board, and click on upload,
After the code is uploaded, tap the RFID tag on the reader and note the ID that displays on OLED.
Now edit my UID on the arduino code with your IDE and click on upload the code.
Now after reuploading the code the project is ready for use.
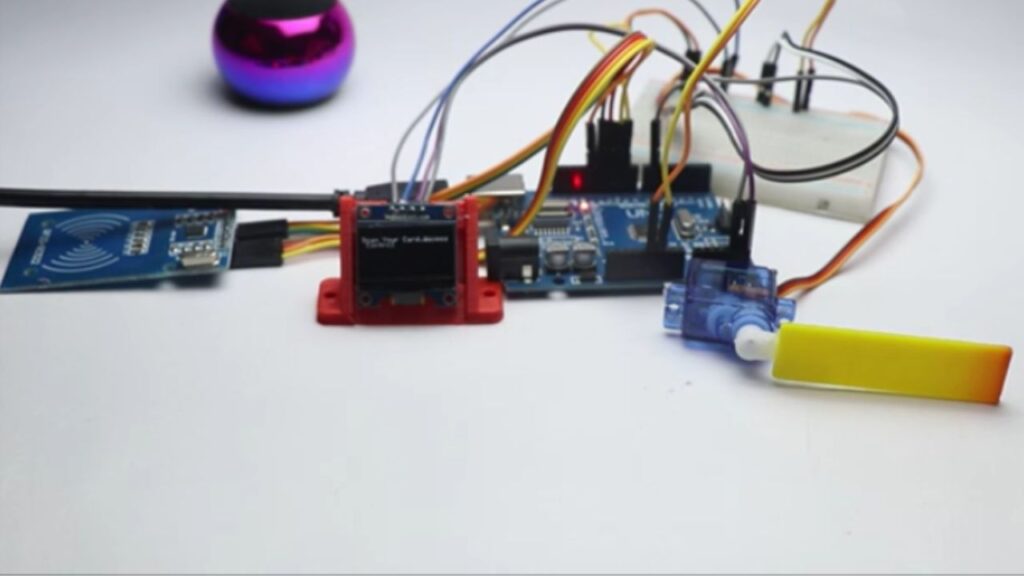
To make it look like an actual toll gate I will install all the components on a cardboard road.
How to use toll barrier project
Like I already said we need 2 tags for this project one is registered and other one is not.
When you tap the unregistered tag the OLED shows access denied message and servo remains close.
Upon tapping the registered tag the servo opens and OLED shows access granted message.
If you know more about codes you can add additional tags too.
That is all about this project you can watch the Working video of this project here.
If you still have any questions you can ask me in the comments, Thanks and all the best for your interest.


