Arduino Powered LED Strip
Arduino Powered LED strip also known by other names such as Addressable LED strip or WS2812B strip is use to make variety of Arduino led projects.
Some people who are new to the platform struggle to set this up, So we are here to help you.
Strip lights are necessary for making cool projects that can be use further for Christmas light decorations or new year eve.
Wide use of these can be seen on gaming rooms, ambient setup and in living spaces.
Nobody wants to use those old type of LED strips that display single color, Now its the time to upgrade.
These are popularly known as addressable led strips.
With the LED strip type which we are going to talk now has the feature of displaying multiple colors on single led.
Most amazing thing here is the entire led in a strip can be control individually.
It means if you have 20 leds you can make 15th and 18th light to emit different colors.
When it comes to making Arduino LED strip projects majority of people use WS2812B which is affordable and easy to use.
We will be going through one of the easiest method that shows How do you use LED strips with Arduino.
But before that you should know these
Why use Arduino to control LED strips
LED strip light comes with other type of control panels such as wireless remotes and non programmable boards.
Problem with this is customizing colors as per your taste becomes difficult.
On the other hand if you are using Arduino you can have favorite colors glowing on those strips.
Colors along with time which they should blink can be preset via set of codes.
There is no limit to what kinds of patterns you can generate as everything is control using Arduino boards.
How do I connect addressable LED strips to Arduino Uno
You can follow these easy instructions to connect your led strip to UNO.
First check how many leds you have in your strip as we are going to need these numbers in coding part.
You can solder wires ( i prefer using jumpers) if they are not done by default.
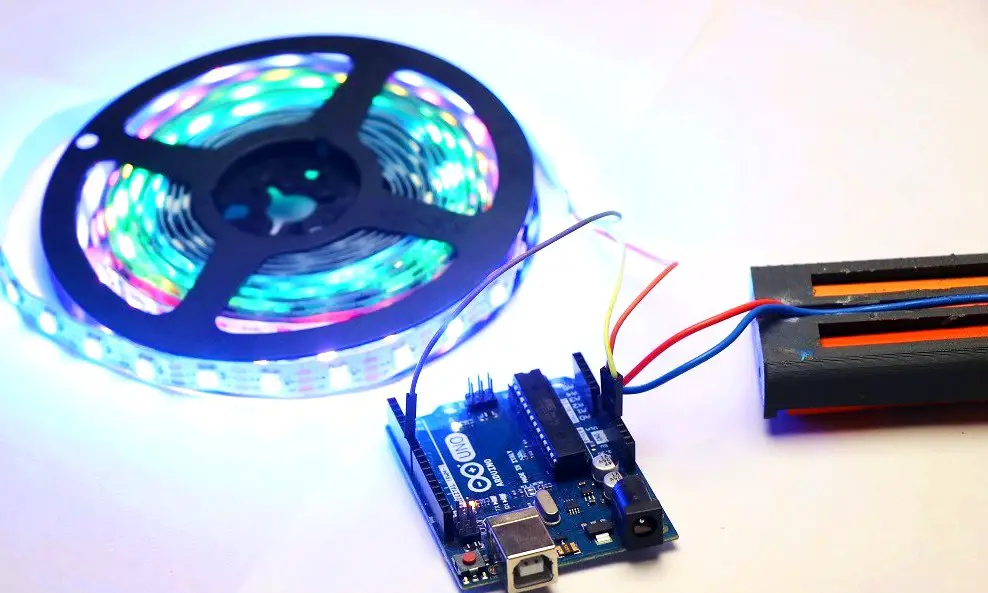
Connect Signal pin to D6 in uno, Take care of arrows shown in image below which shows signal flow.
Wires need to be connect in these arrow directions.
Other wires such as 5v will be connect to positive supply and gnd to negative terminals of strip.

Choice of boards is left upto you but here taking considerations of price factor i use arduino Uno.
After you have these basic circuit ready upload the code using IDE.
LED Strip Arduino Code
Code is very simple and you can upload this led strip light code to your uno or nano using Arduino IDE.
Arduino Powered LED strip codes are available here
Once you have your code on the board disconnect the programing cable and use external source to power.
If you use usb to power strip it might burn your board as it withdraws too much current.
To eliminate this i made use of lithium ion batteries that were connect in series to power this.
In arduino Uno you will have Vin and Gnd pins on analog side that allows you to connect external power sources.
If you are using these LED strip on very log run consider adding resistor to prevent overvoltage by any chance and avoid damage to leds.
In the codes you will have comments that will guide you through color codes and time in which you can alter the play of led lights.
After you have all this ready you can use this arduino led strip light now you might think.
Where can i use Arduino LED projects
- Ambient ceiling roofs
- Decorating house
- Desktop light setup
- Cosplay characters
- Music reactive lights
- Other Amazing projects
You can even control multiple led strips with arduino more on that later if you wish.
Consider checking our previous post that shows how to make Arduino Piggy bank Project


