Arduino Water Level Indicator using Ultrasonic sensor and OLED
Hi Readers, in this article we are going to make Arduino Water Level Indicator using Ultrasonic sensor and OLED display to read values.
What is the need for a water level monitor or indicator?
Overfilling is one of the common issues in almost every household.
Water Level Monitoring can save lots of water and hence this is a very useful project
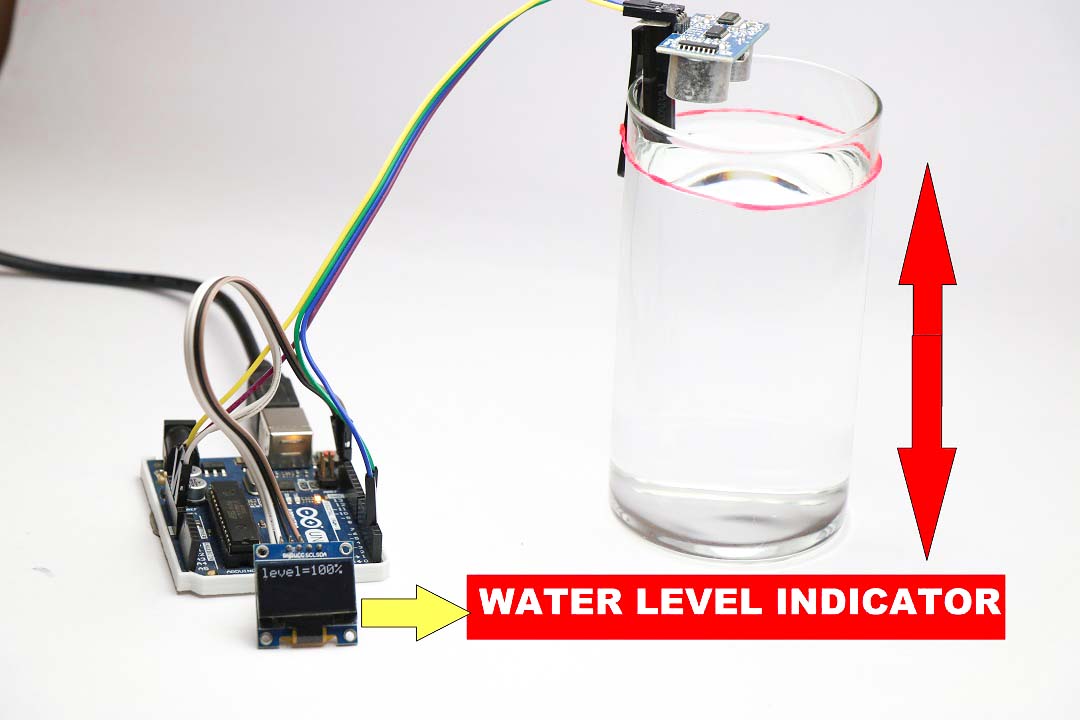
For the demonstration, I will be using a glass of water.
We can scale this project to be used on a larger scale by using sensors of different types.
As this is a mini project we can use this on small applications.
Don’t forget to check the working Video of this project given at end of this article.
Bonus! You might also like our previous Arduino Tachometer Project
How this Works?
I made this water level indicator using Arduino Uno you can make it with nano too.
This works on a very simple principle as we know that purpose of an ultrasonic distance sensor is to sense the obstacles.
In our application when the water level is rising on the tank the surface of the water comes up.
This raising surface is the obstacle that will be sense by an ultrasonic sensor.
Now as the water approaches too close OLED display starts to show the readings.
Readings are based on the codes that convert the range of ultrasonic sensor to values.
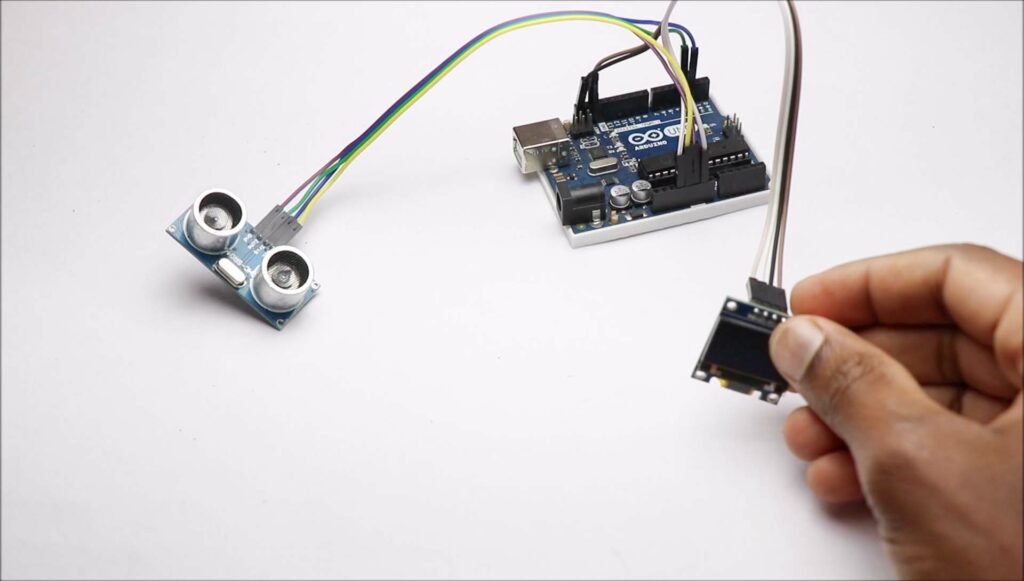
Now let’s see how to make this water level indicator, to make this we need few electronic components.
Materials Required
- Arduino Uno from Amazon
- OLED display Here
- Ultrasonic distance sensor
- Jumper wires
- Empty glass and water
- Single elastic band
- Arduino IDE
- Programming cable
Circuit Diagram for Arduino Water Level Indicator
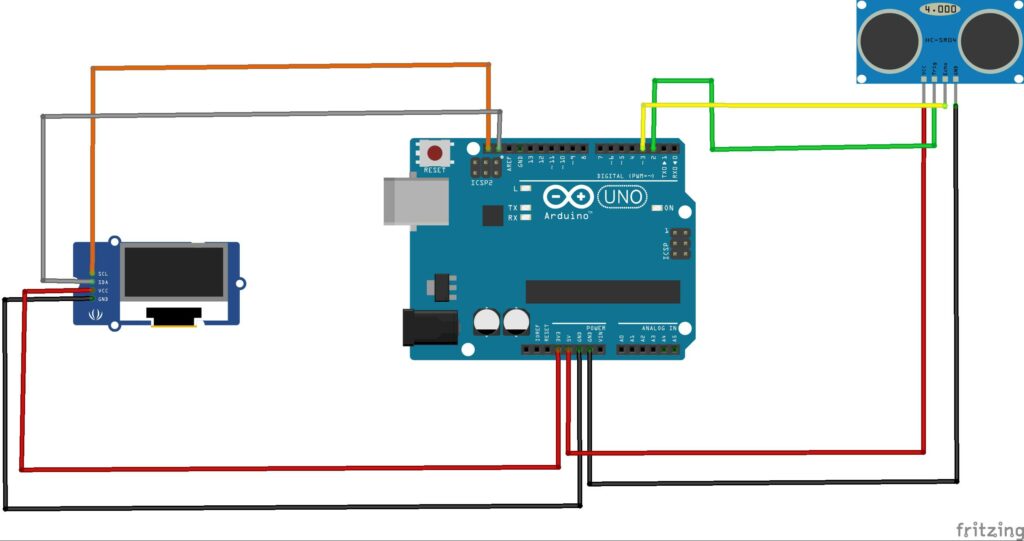
Before making the circuit I will explain the role of each component in our project.
OLED Display Connections for Water Level Monitoring
This is a device that helps to read the values in digital form.
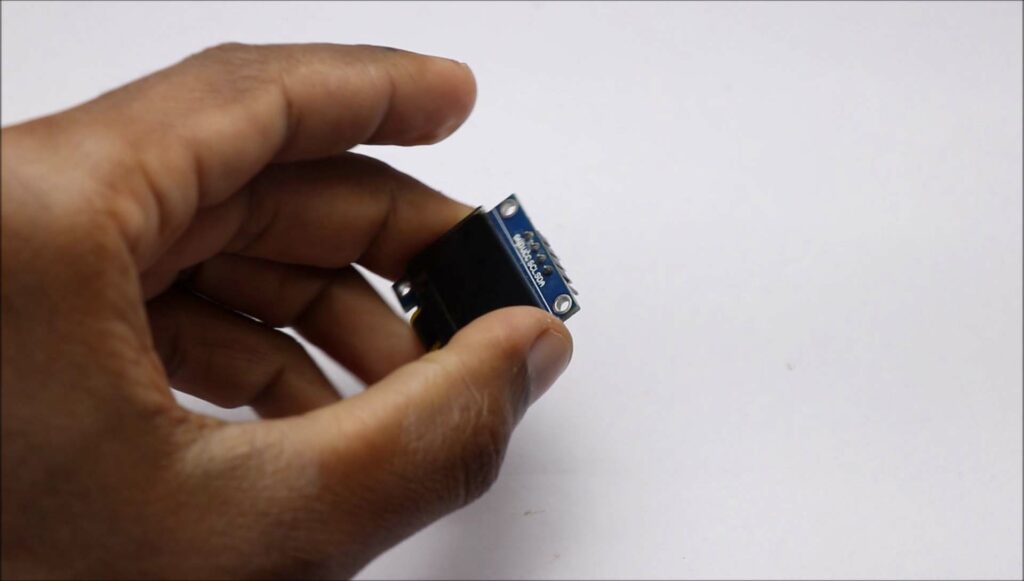
It has 4 different set of pins Scl, Sda, Gnd and Vcc.
Gnd and Vcc are for power supply while Scl and Sda are for signals.
As this display operates on 3v supply we will use 3v pin of Arduino to power this, so connect Vin to 3v Pin of Arduino and Gnd to Gnd of Arduino Uno.
Scl and Sda Pins are inbuilt on Uno and you can find this on First and second pins on digital pins side.
Ultrasonic Distance Sensor Connections
Its other name is HC-SR04.
It is one of the most common sensors for distance sensing.
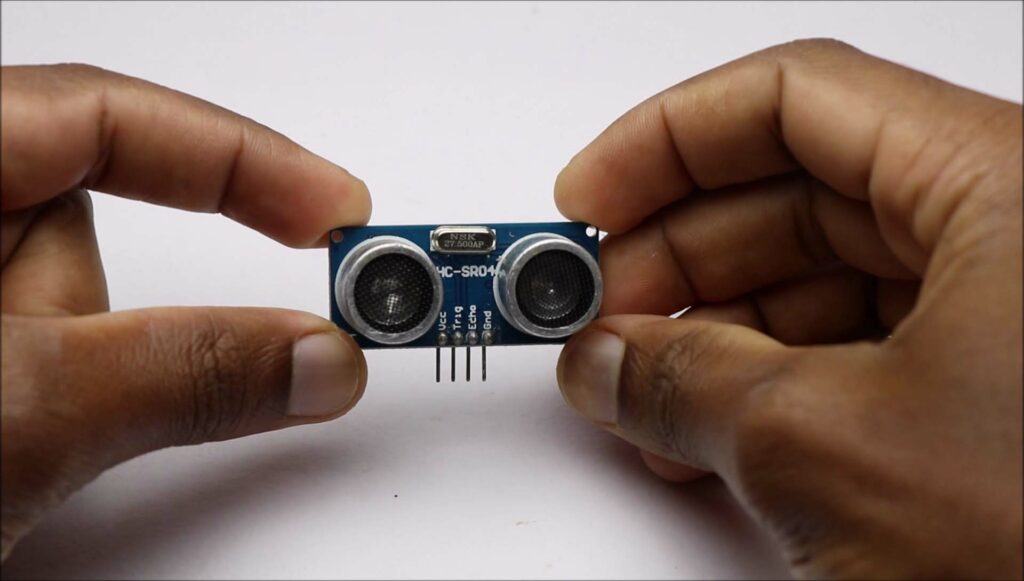
In our project it plays the main role, it senses the level of raising or lowering of water by emitting pulses of ultrasonic waves.
From the Transmitter part, Ultrasonic signals will be emitted
This travels in the space until it touches some objects, when it touches the object it will be reflected back.
These reflected signals will be picked up by the receiver end.
The signals are later sent to the Arduino board where these signals will be converted o useful values that will finally be displayed on the OLED display.
Now we can build the circuit, I used a few jumper wires to connect all the components.
After the circuit is complete we can continue with coding for this project.
Water level indicator using Arduino and Ultrasonic Sensor Code
You can download CODES from here.
Few things you should consider before uploading the code.
- As we are using an OLED display it need a library, If you have connected and used before in your project.
- If not you can download the Libraries below.
- ADAFRUIT GFX Library ADAFRUIT SSD1306 Library

After you download this library you can add them to your ide by clicking on Sketch -> Include library ->Add .Zip library and click on the above-downloaded files.
As I have used glass to measure the level of water you can use other containers, but make sure to calculate its height first.
In my case it was 22cms, you can add your values here.
H=H-4 I the offset correction meaning the distance above which your ultrasonic sensor will be placed.
I placed it at a distance of 2cm and I added the same in code, ass your offset values.
The reason for offsetting is if the water overfills it will enter the ultrasonic sensor and it might damage it.
The offset helps by saving the sensor from water.
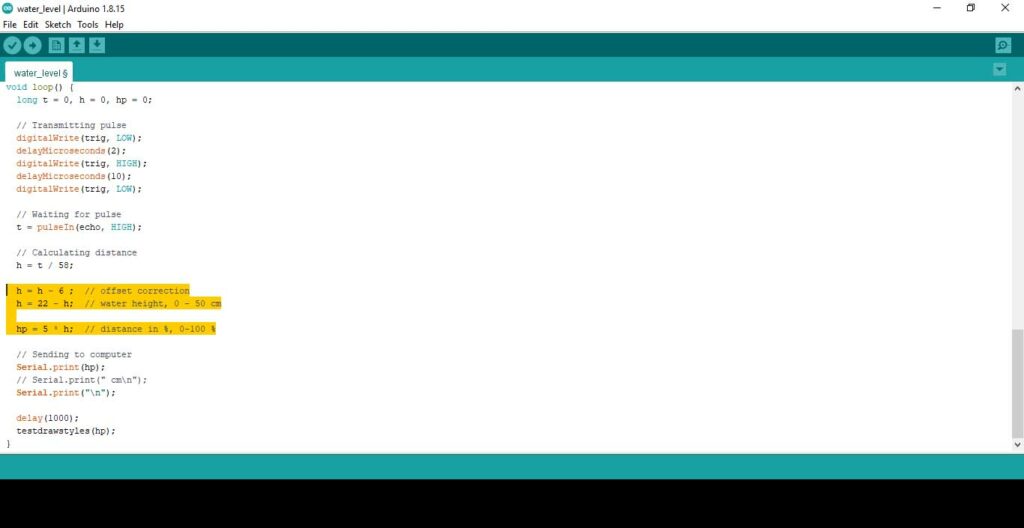
You can also change the increment values in the level.
I have given it as 5 which means the values run in the multiples of 5, 5,10,15,20 and so on upto 100.
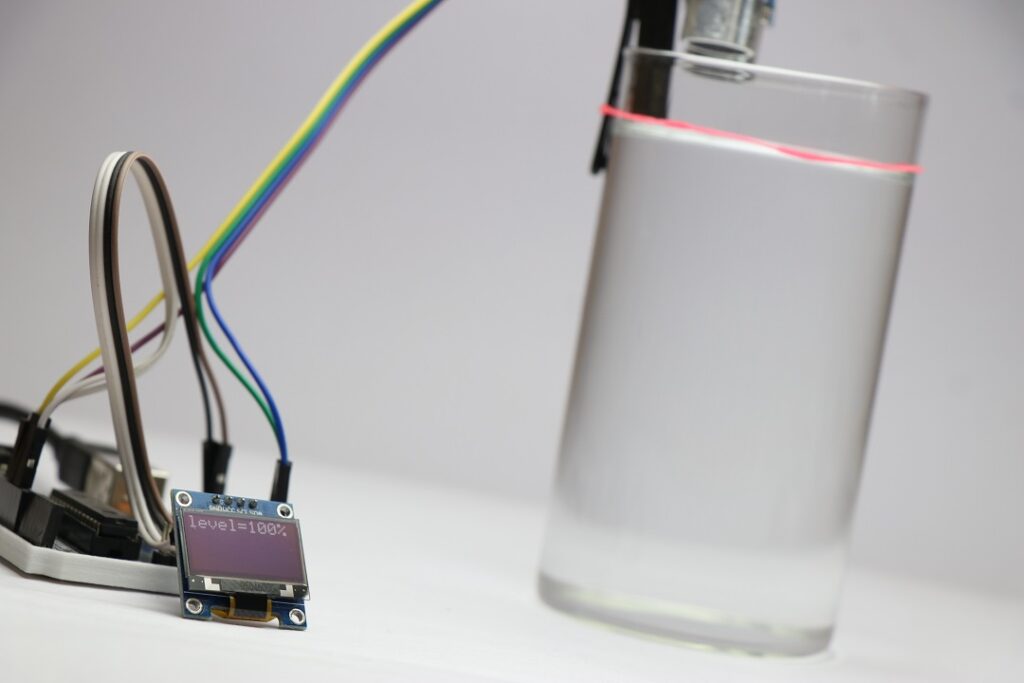
I used a glass that is transparent so the water can be seen from outside to confirm the values from this project.
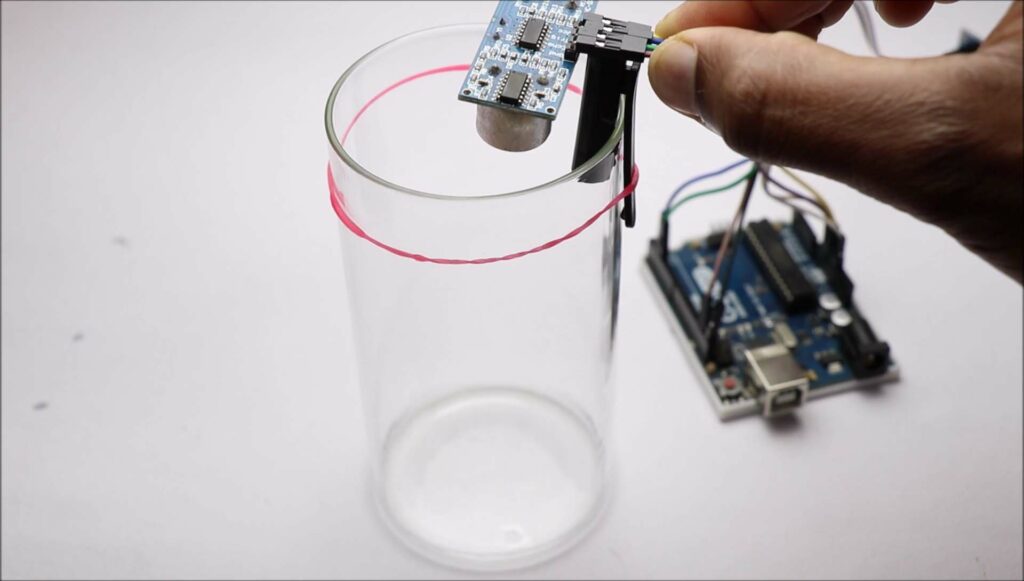
This is the setup that I followed to attach the sensor to the glass.
I used a piece of the elastic band as a red line to which my sensor was supposed to read the values.
How to use Arduino Water Level Indicator
You can power this externally by other dc sources.
But I prefer using a power bank for this project.
Just connect Uno to USB and the device is ready to show measurements.
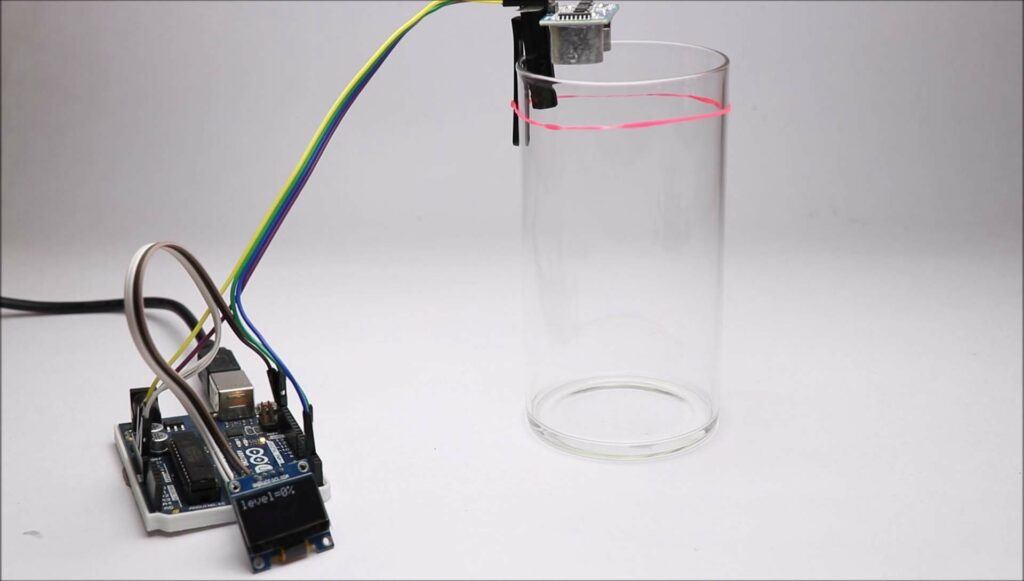
After switching on you can see the value set to zero.
It means your device is ready to use.
Start pouring some water into the glass, slowly the level starts to raise up, I have filled this glass up to 100%
Note that I have used a rubber band as a standard 100% to prevent overflow on the table!
You can make a case and use this project on outside applications.
The only thing to be taken care is it should be waterproof.
In the future, I will upgrade this project using IoT that sends reading to your smartphones, stay tuned.
That completes this project, You can check the video tutorial for this Arduino Water Level Indicator using Ultrasonic sensor and OLED project here, Thank you


