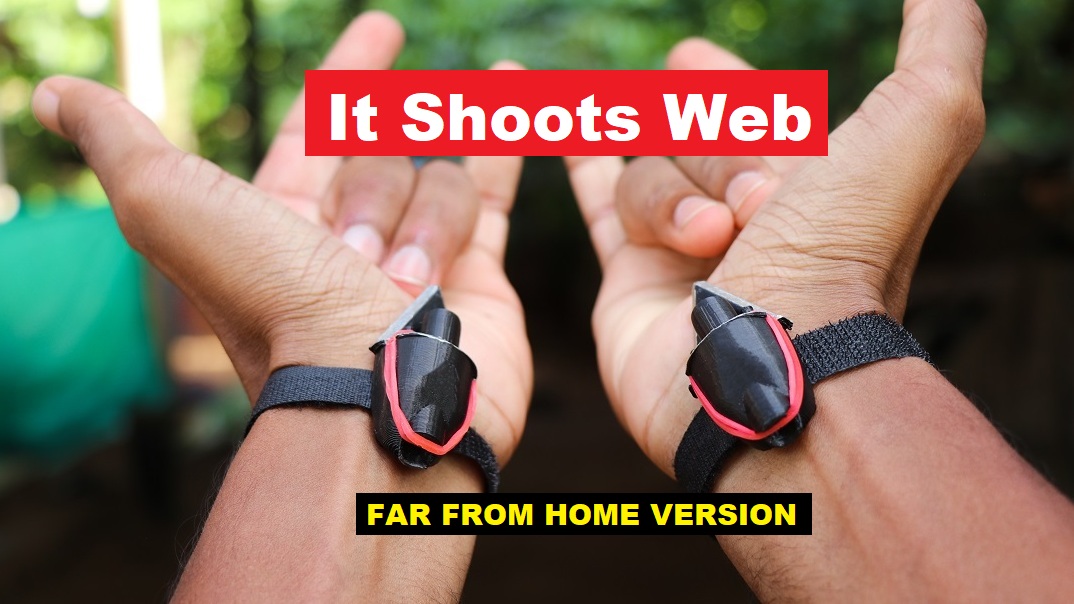
Make No Way Home Web Shooter
Learn to Make no way home web shooter which is shown in very easy steps.
After trying my previous project many have given positive responses and asked me to make this version.
This is a very simple tutorial on how to make spiderman no way home web shooter with free templates that you can use for free.
Why make No Way Home Web Shooter
Being a Marvel fan it’s difficult to resist when some recent models of web-slinger display on the screen.
Even I like to try out really cool web slingers or shooters.
There are plenty of models available in the market right now, but those come with a hefty price tag.
Not everyone can afford those, But with this tutorial, you can make a functional no-way home shooter at your home.
As we know no way home web slingers made a huge sound but nobody saw the real slinger!
But all we know is, it may appear in gold and black so keeping that in mind we have made this gold version web shooter.
Materials to make no way home web shooter
Cardboard, I recommend using cardboard from a cereal box as they are not corrugated.
Gold color paint and a permanent black marker.
Paper glue and good pair of scissors to cut the cardboard.
Thread and tube made from paper.
These are the only basic supplies materials that make our functional slinger.
Now let us dive into building steps starting from template.
Template for Functional No Way Home Web Shooter
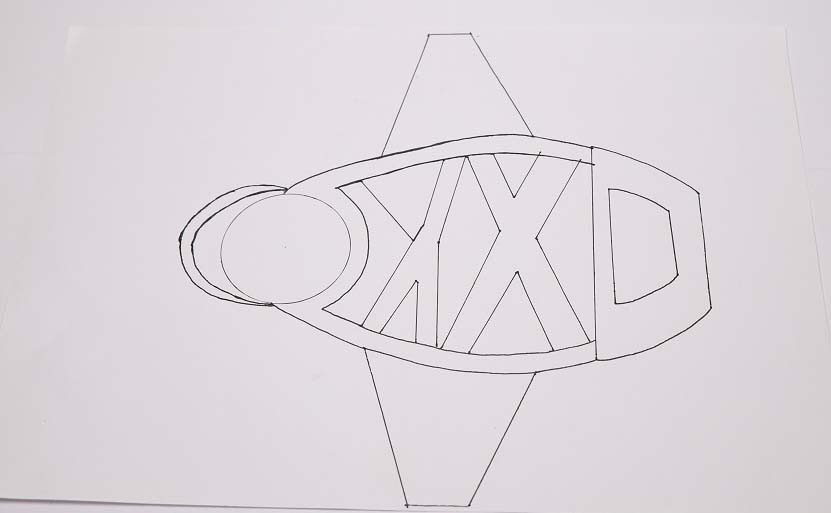
This is the template that was designed and bought into a working model after several attempts.
This works fine for all hand sizes I have an average size so this default design fits perfectly.
You can also increase or decrease the size by extending or reducing the side wing-like shape as in the template above.
Building Phase 1
To begin with, we will start making a frame that supports the disc-like web thrower.
We are making frame and disc separately hence kindly follow the steps given below
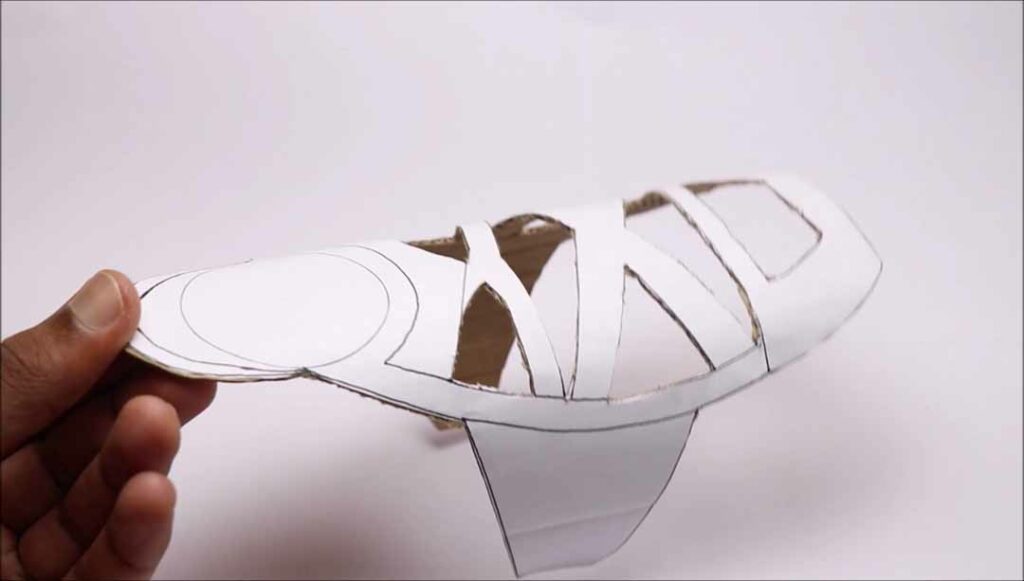
Once you have this template on paper you can cut and place it on cardboard.
To keep this in place I made use of paper glue.
This helps the cutting process much easier.
The same step is shown in the visual for better understanding.
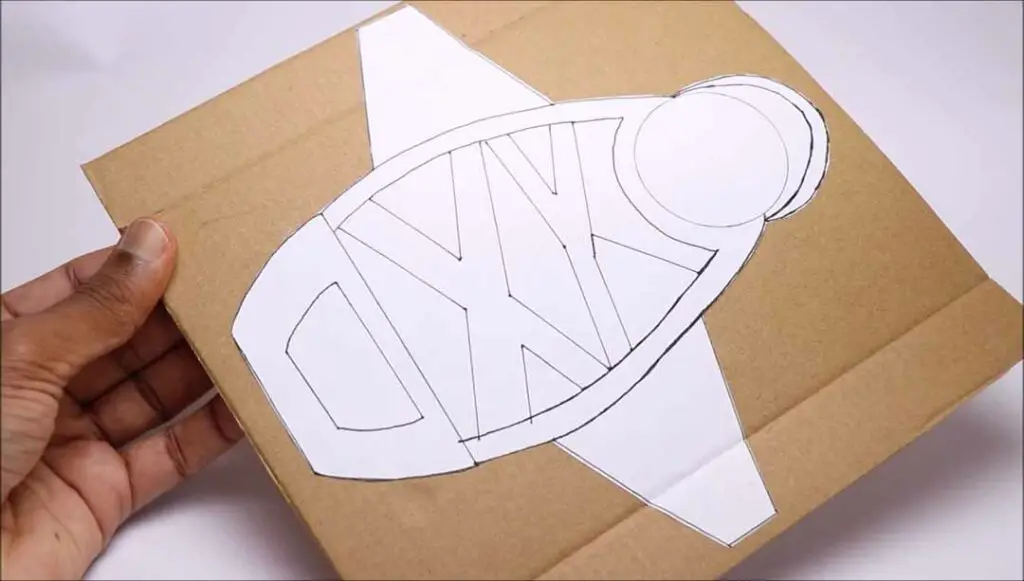
After gluing to cardboard allow some time for the paper to completely dry.
This ensures you have a smooth finish off edges when you are cutting with a scissor or paper cutter.
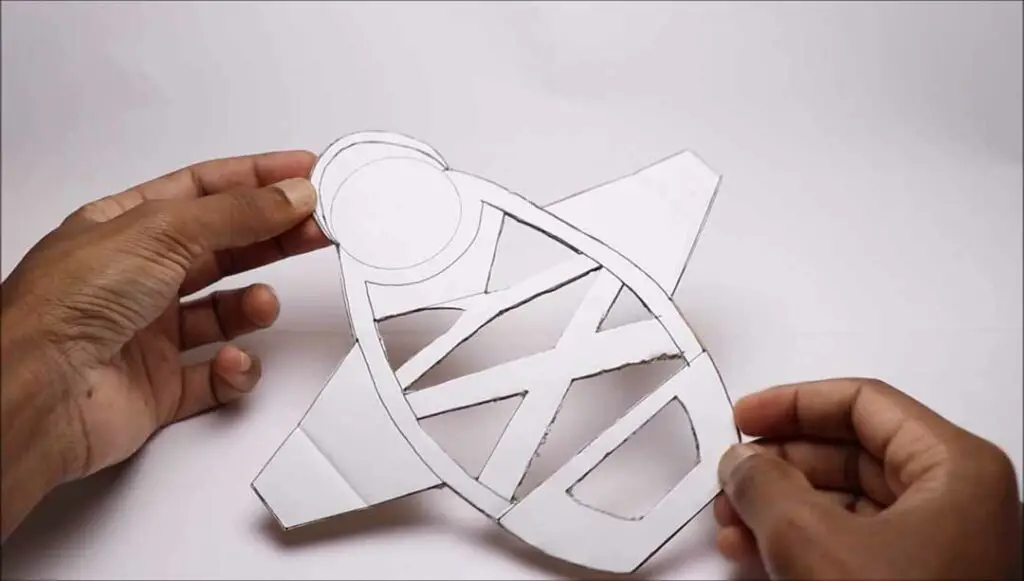
After your waiting time is over you can proceed with the cutting process.
For the mid part, it’s difficult to work with scissors.
so I used my art cutter or a few call it a pen cutter.
This made my work a lot easier.
After the work is complete you will end up with this part.
This is a pretty straight part and we want it in bent shape so that it fits our hand.
The type of cardboard that we made use of here allows us to be bent.
So gently bent towards the inner side and check if it fits your hand.
To retain shape we are going to paint it with gold paint later.
Now you can work on properly bending all the sides that look something like this in the visual below.
After working up to here now we have our frame ready.
Paint this with gold fabric color mix with a small amount of paper glue.
This gives color as well as additional strength to this part.
After coloring and letting it dry we can begin with the web shooter part.
Building Phase 2
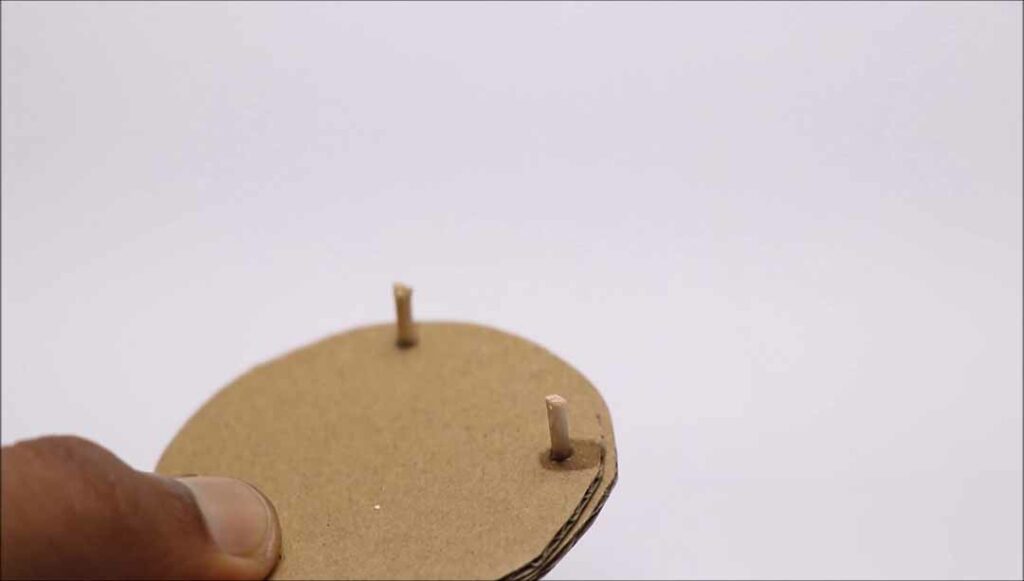
To make the slinger part I made use of a 3cm radius circular disc.
This was drawn and cut on the same type of cardboard that we worked upon earlier.
Make 4 such pieces and glue one on the other.
Now we have 2 different discs with 2 layers.
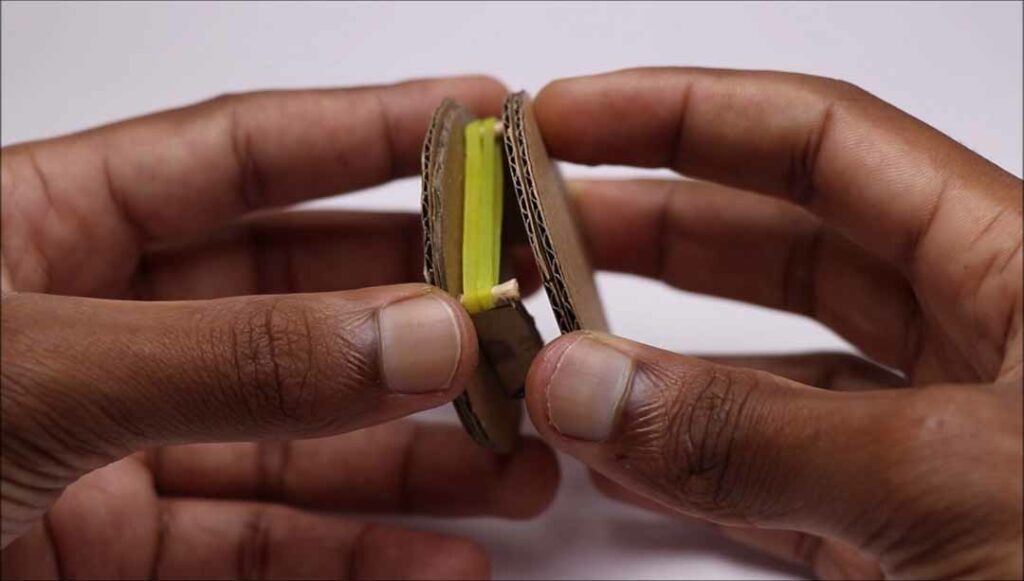
Add a piece of a toothpick and super glue it to this board.
Now add 2 rubber band pieces between this toothpick.
With leftover disc cover the top layer and add super glue to the join points.
This makes the part very strong.
After you complete this you have a lot of vacant spaces on the sides, we will cover this with a long strip of cardboard.
Make sure to leave space for inserting and letting out web.
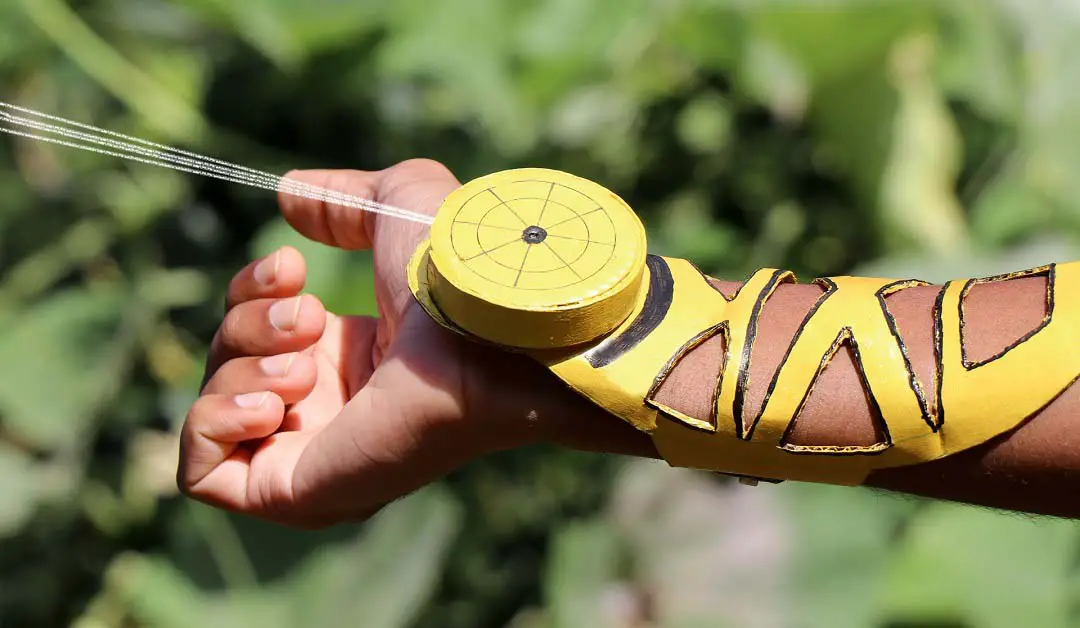
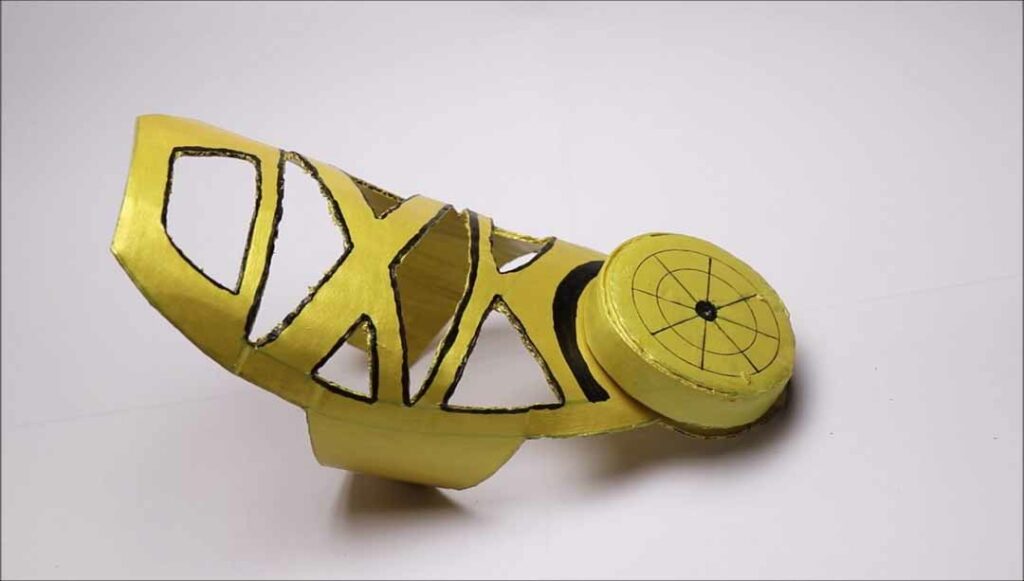
After you have this part ready you can paint gold color as we did earlier.
After some final touches, we will have no way home web shooter that looks like this.
To make a holder that helps to fit the hand I made use of 2 neodymium magnets.
This is a very simple way, you can also use velcro or old belts.
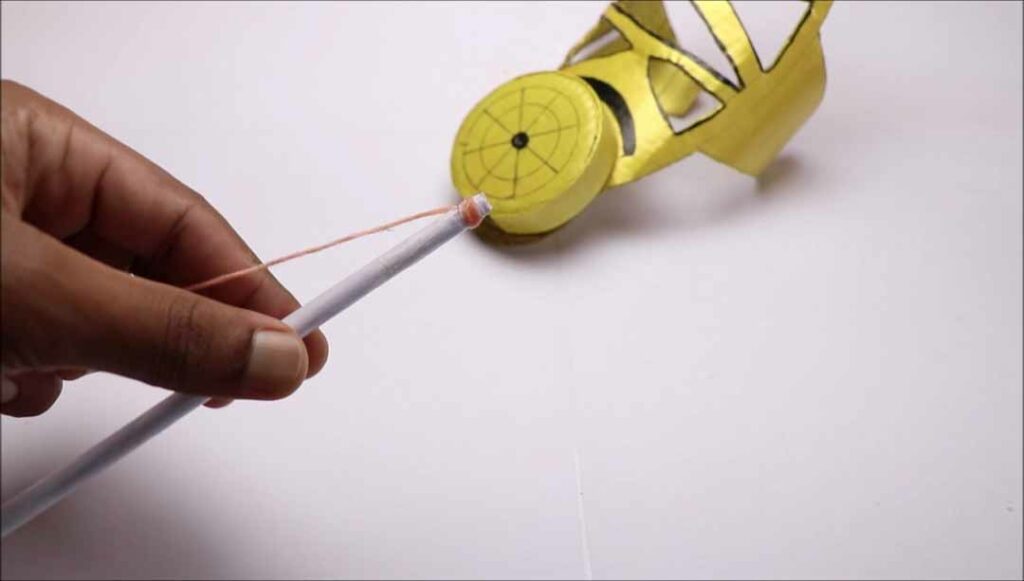
Now only leftover part for this project is web-slinger.
Easy way to make paper web slinger part
This is made in a very easy way.
I made use of a 9cm paper roll with a v shape at the bottom.
to the top of which I added a piece of woolen thread.
There are 2 ways.
one is adding a thread with the frame so that we can pull after throwing the web.
The second is letting the web fly away.
The choice is yours! but both give the same results.
That was all about making this project, now let’s check how this web shooter works.
Working of Homemade no way home web shooter.
Fit the band to your hand.
Insert paper tube aka web into the slinger part.
Hold it with your center finger on which band is attached.
Compress inside so that it flies far away.
Release it and watch your web fly in the air.
Video of no way home web shooter
Check this video that shows the working of this project.
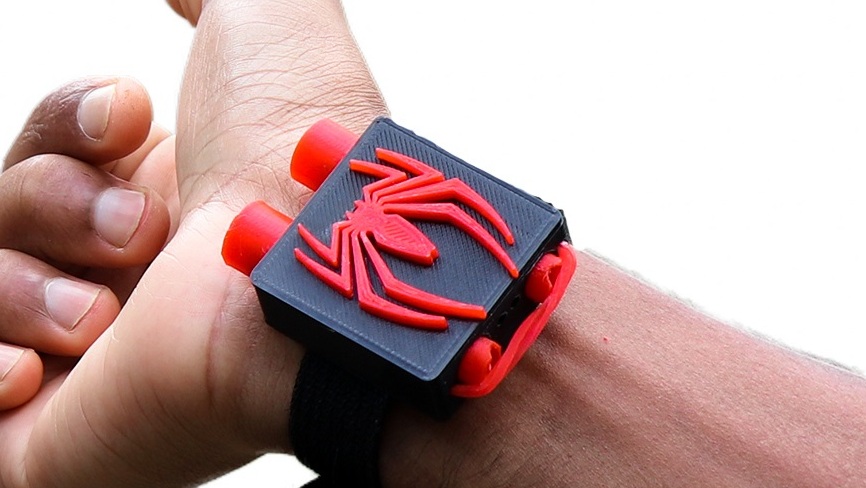
If you like this you may also like our previous project on spiderman miles morales mask with moving eyes
That winds our simple project, Thanks for your time.