Making Functional 3D Printed Web Shooter Without Springs or Magnets
Hi Readers as the title says this article is all about Making Functional 3D Printed Web Shooter, I have given maximum details about making this in this post.
Spiderman movie enthusiasts are always seeking a better version of web shooter, if you check online you can see overpriced web-shooters and you cannot assure if it works for multiple attempts or not!
The demand is soo high that it is not fulfilled, Here 3D printing comes to the rescue!
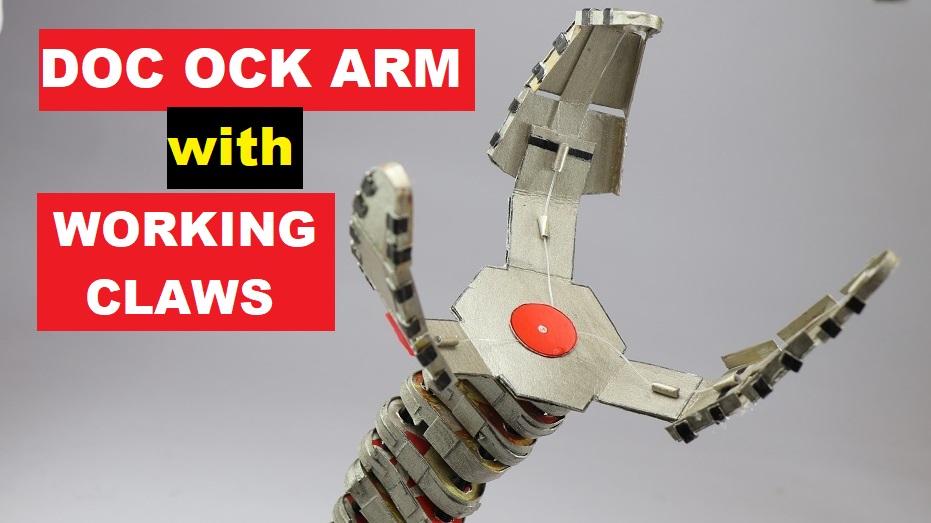
Note: You may also like our Iron man Helmet Project.
Why to Make a 3D Printed Web-Shooter
There is no specific reason as to why to make this, 3D printing is a game-changer for hobbyists and inventors.
The possibilities of making things with a 3d printer are endless, so if you are into 3d printing there is no need to answer this question.
As you already know how cool is to 3d print things.
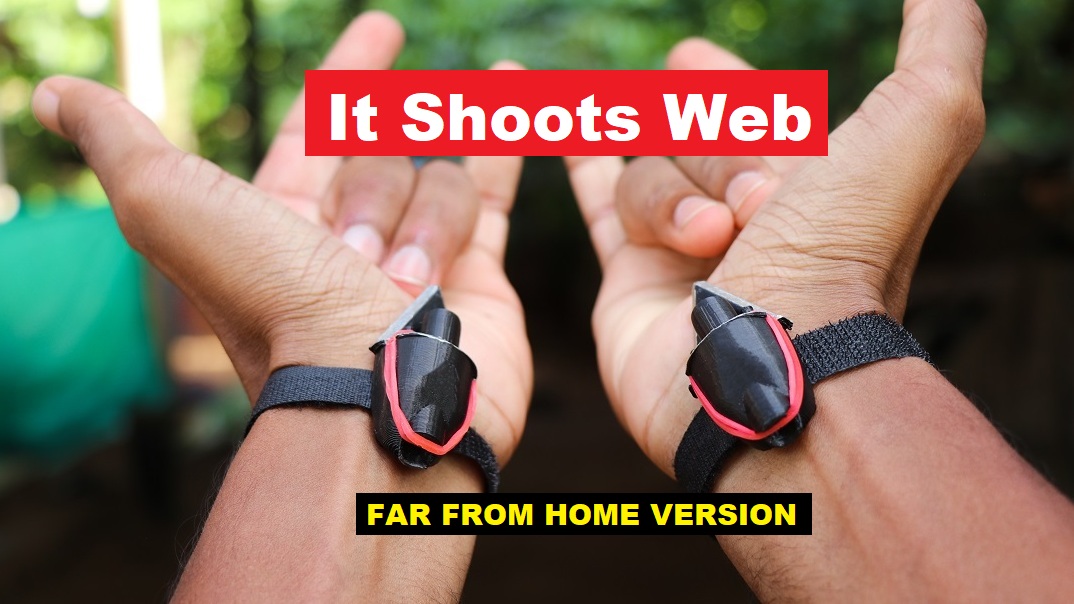
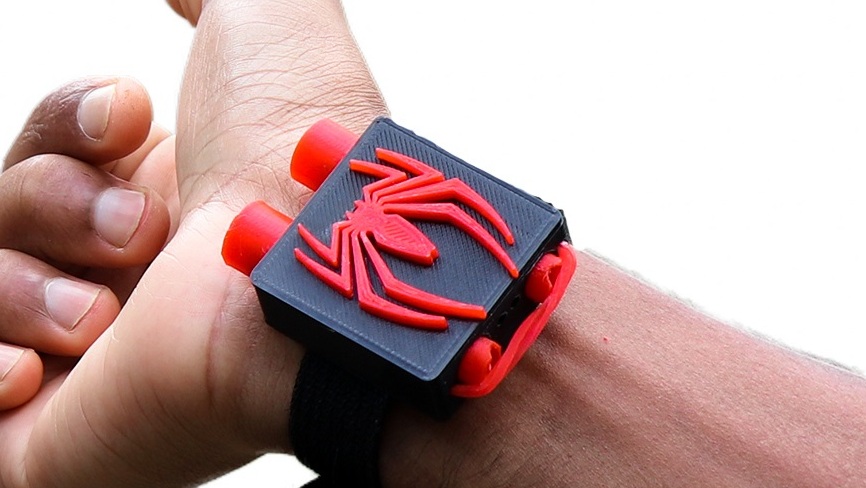
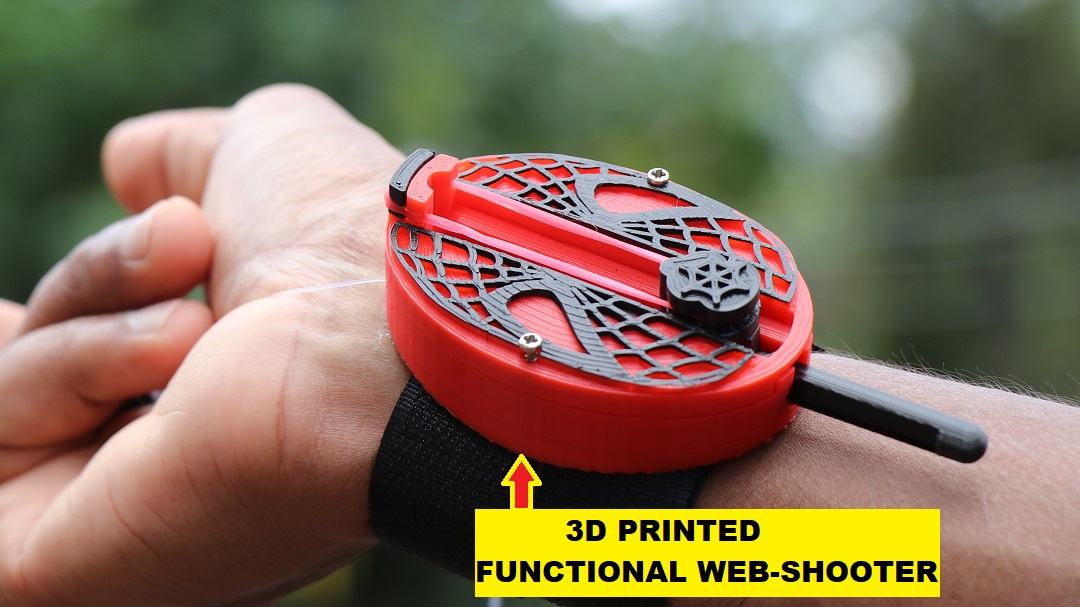
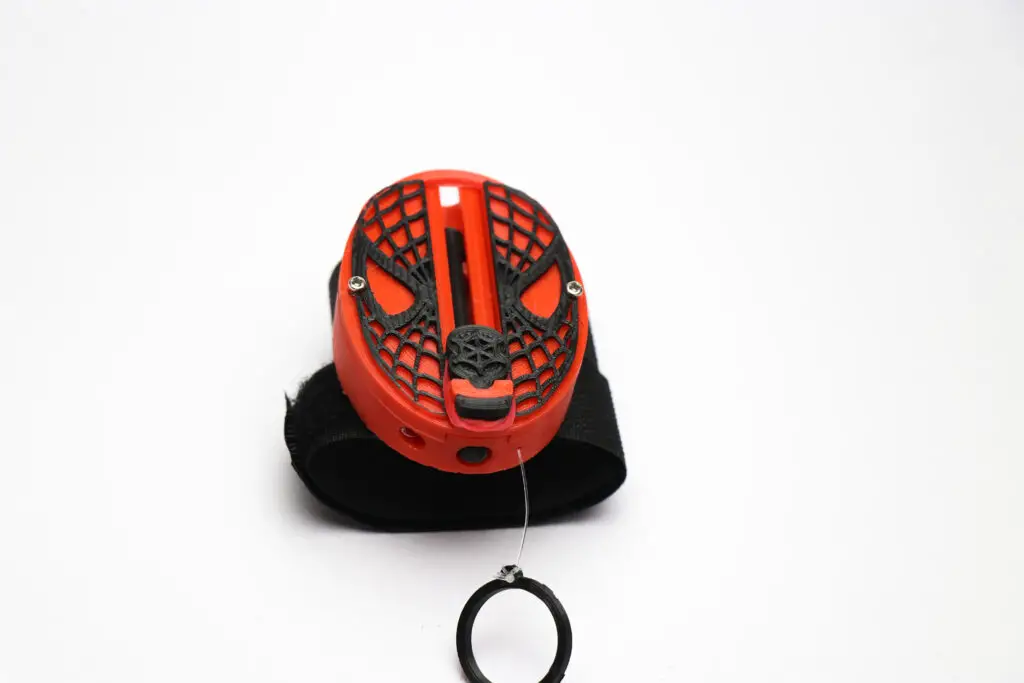
You can see the actual product we made using a printer from the below image.
If you have a 3d printer you can print these STL and have your own web shooter.
Wait what about the people who do not own a 3D printer?
Don’t worry now you can print any STL without owning a 3D printer.
There are hindered of 3D printing service providers online, Just choose which is convenient for you.
With these being said we will see how I made this functional spiderman web shooter by 3D printing.
STL Files for Web-Shooter
I have used Solidworks software along with Tinkercad for a few parts in making designs for this project.
You can Download STL files Here
After you have the STL files you need to open these in any slicing software, In my case Cura software.
After opening the software we need to slice the parts.
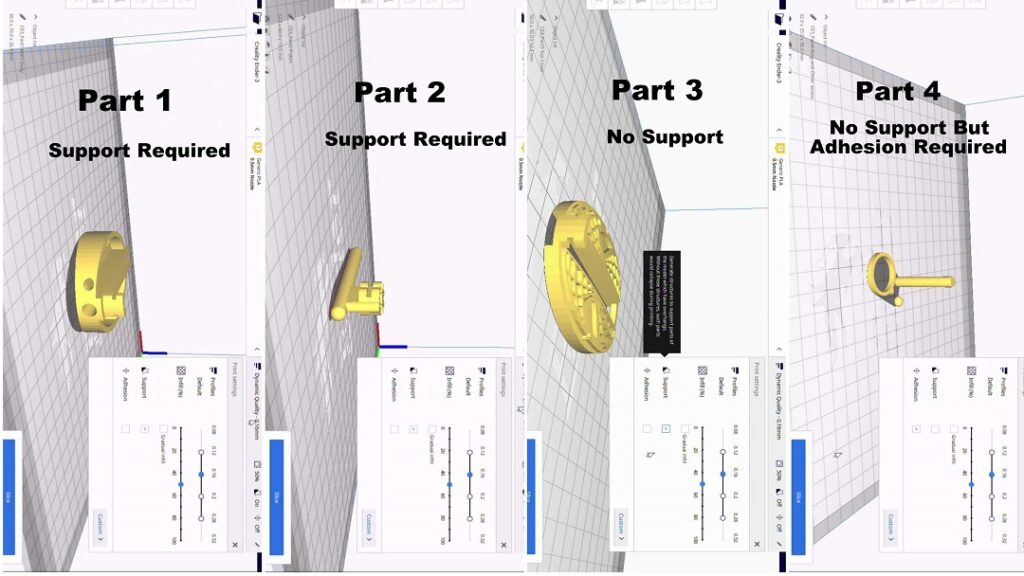
There are four parts in total
- Part 1 Known as Body
- Part2 is the Piston
- Part3 is the Cover or mask
- Part4 becomes the Ring with other 2 parts
Settings to print the Design
To Make it easier I have given values that are in the settings during the process of slicing.
Part 1 and Part 2 need supports where as part 4 need adhesion Part 3 is direct print.
I am using an ender 3 pro printer with a 0.5mm nozzle.
The infill rate is 45% that I found works best for this project.
PLA type of filaments of the color red and black will print the parts.
Note: I printed all the parts separately as I had to choose my fav colors for the parts.
Part 1 and 2 need support, if you fail to provide the support you may face overhang issues that ultimately lead to improper functions later.
Once the Printing process is complete we can post-process those.
Tools and Materials for Making Functional 3D Printed Web Shooter
- Elastic bands
- Filament cutter
- Super glue
- Screws(small)
- Sandpaper
- Velcro strips
- Fish wire and sewing thread
- Cleaning 3D Printed Parts
These are the parts we get after the printing process.

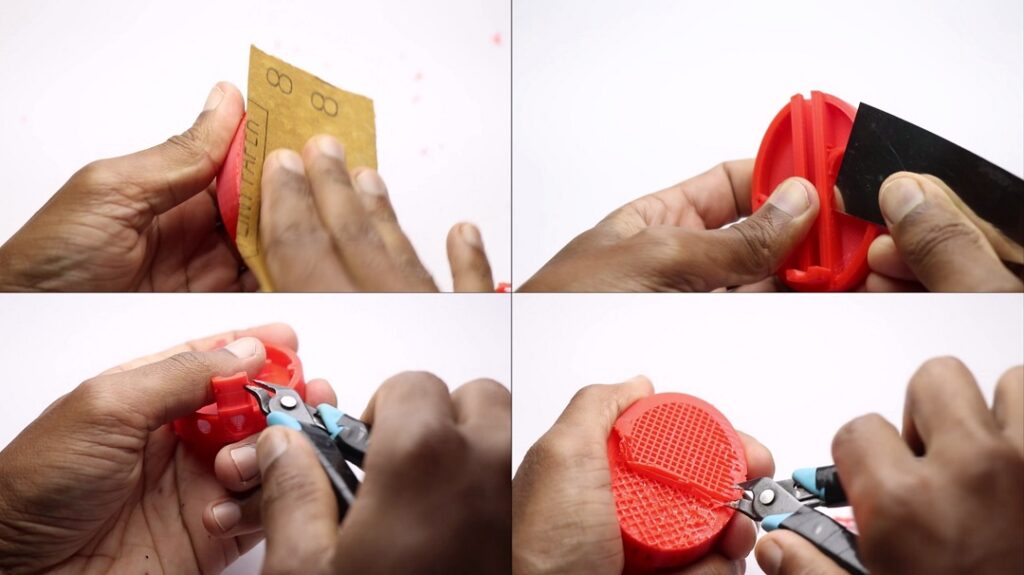
These may look perfect, But as we made use of supports we need to remove those.
We have supports on pistons that can be taken out easily.
It will take some time to clean the mainframe or body part as it has most of the supports.
Don’t worry, Below visual shows the steps to remove supports.
Note: These images are only for beginners to 3d printing, experienced might not need this!
Start by removing outer supports, later you can remove the supports from behind followed by sanding the part for a smooth finish.
Make sure to remove supports from the lock mechanism part.
To confirm if everything has been done perfectly just push the lock slowly with your fingertip.
If the lock is able to move and come back you have done the cleaning job well.
Adding Lock Release Mechanism
With the pull of a string, the web comes out, ever thought about how it is done?
I think the chances of seeing this type of lock mechanism is very less to rare.
Most of the homemade web shooters use spring or magnets for their work.
Our web shooter is unique as it uses a special lock mechanism.
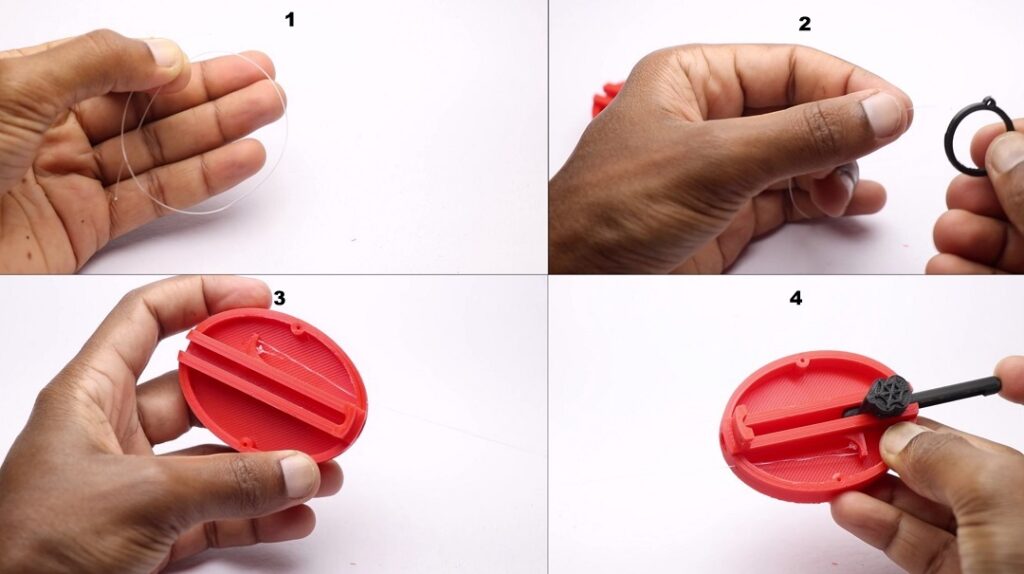
I will be using Fish wire for the string part, I recommend using the same for you too.
Just add the wire through the slot in the body and later to the lock via the holes given.
You can check how exactly it is done from the visuals above.
Other ends of wire will be connect to ring which later is worn by the finger.
The length of the string can be adjust with the help of this ring, so it suits all the hand sizes.
After adding these you can add the piston part.
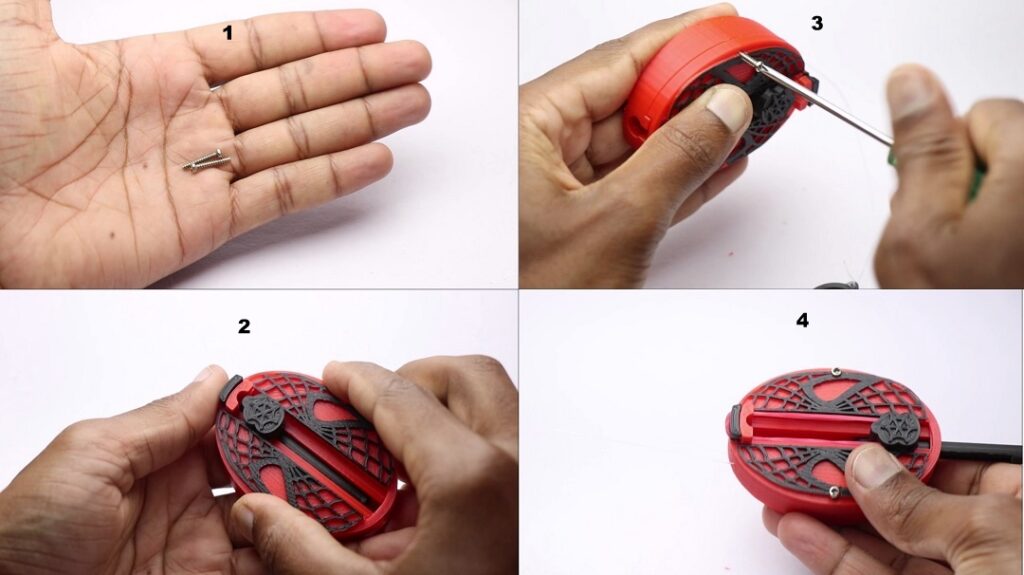
Adding the Top Cover
We will need 2 screws to attach the top mask part or cover the part with the body/frame.
You can get these scores from your old toys as most of them use the same.
Tight with the help of a screwdriver
Add elastic band between these 2 slots.
Pull back the piston until you hear a click sound.
Finishing the Web Shooter
To make this wearable on any wrist I made use of velcro strips as they are inexpensive and easily available.
Just cut strips as per your hand size or a little larger then add them to the backside of the frame using a drop of superglue.
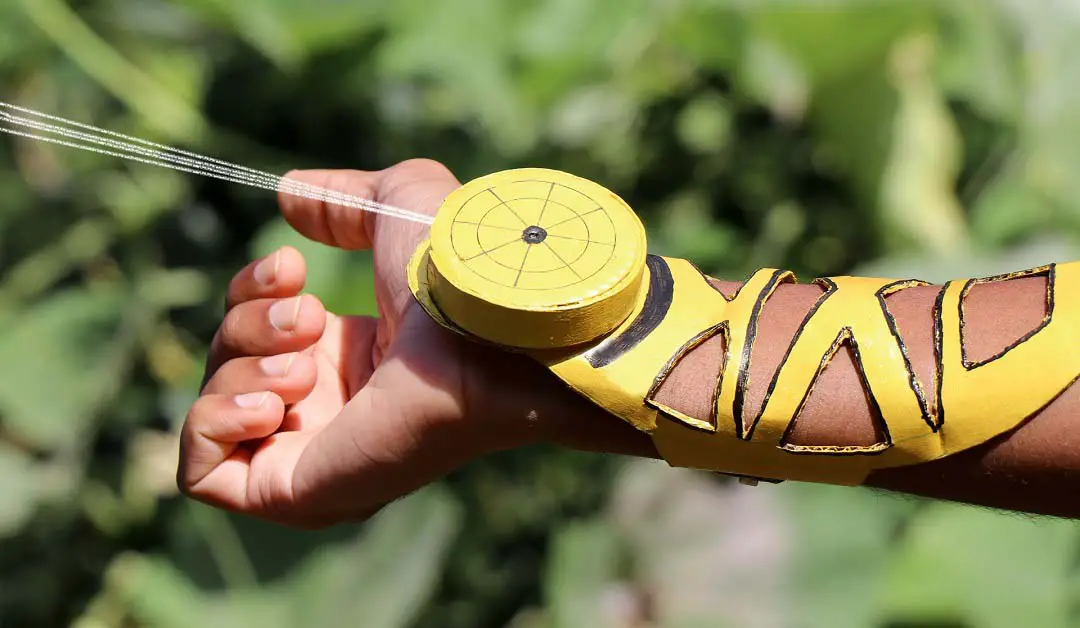
To make the web we have 2 options.
If you want to make it fly in the air you don’t need to use a ball aka stopper
If you want to pull objects like the classical web shooter use the stopper.
Still not clear?
Well, you will know this going forward.
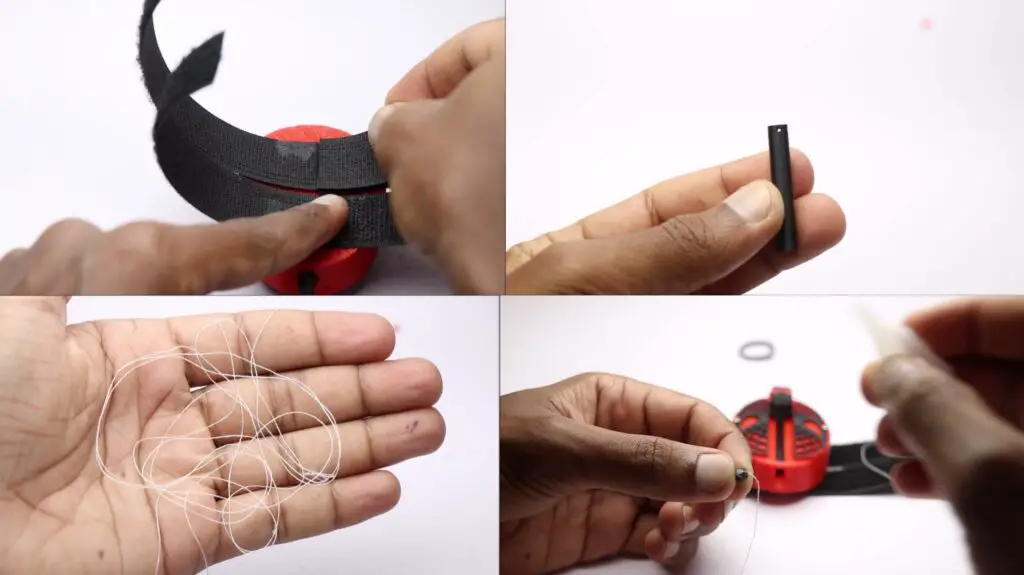
I used normal string as it gives the pattern of the web.
Just add a thread to the hole of the 3d printed part and the other ends of the thread goes to the ball(optional).
Now pull back the piston add this and check by pulling the string.
These web-shooters work like real, all thanks to the design and elastic band!
Working video of Making Functional 3D Printed Web Shooter
Watch this amazing video which includes building and testing.