Make Loudspeaker from Old DC Motor
Hey guys in this project we will see how to Make Loudspeaker from Old DC Motor, It is a very fun project to make.
Most importantly you will learn lots of things in the process of making this loudspeaker.
I have given design files for this project, you can easily print the parts if you plan to build this.
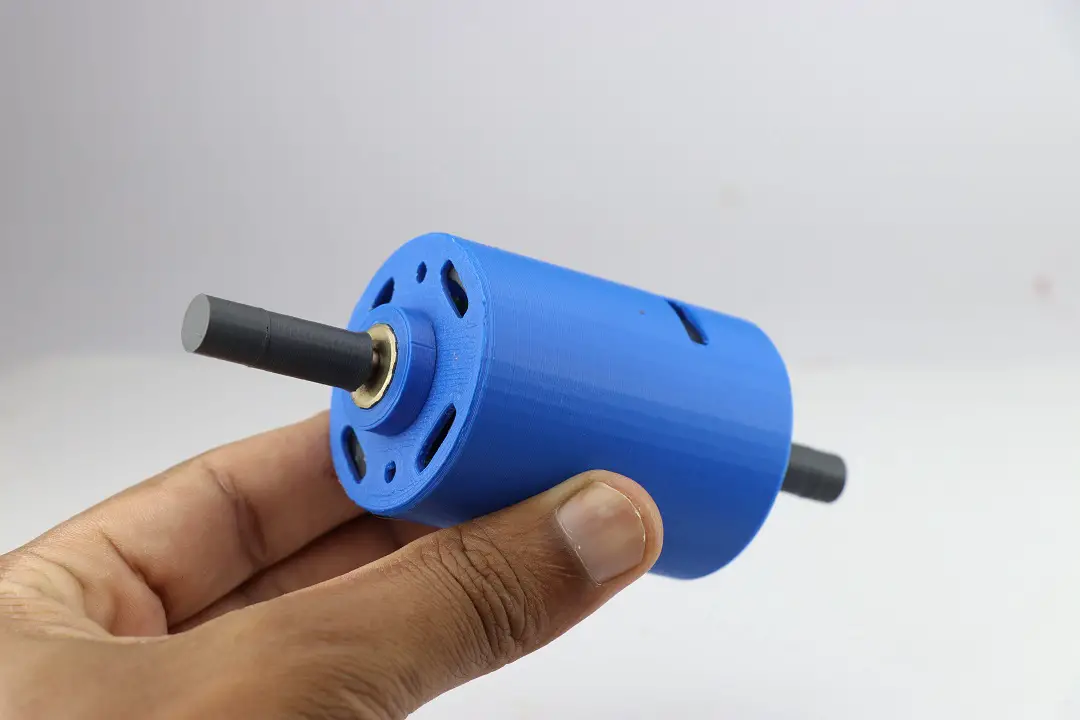
Don’t miss to check our previous post on 3d printed double shaft motor
Why Use Toy DC Motor to make Loudspeaker
Now you might think what is the purpose of using a dc motor.
The answer is it has all the components inside to make the speaker.
Did you know that loudspeaker works on the principle of motor?
Normally the dc motor stops working as a result of burnt brushes and we throw it away.
We are using the same motor to build this amazing speaker.
Toy dc motor has Magnets on the sidewalls of the frame.
The rotor contains copper wires and hence it is a perfect choice to use in speaker making.
To begin with, let me give a piece of short information about what is the meaning of a loudspeaker.
What is a Loudspeaker
In short, It is an electronic device that gives out sound energy.
Electrical energy is converted to mechanical energy(due to the vibration of material)
It is something that produces/gives out a greater intensity of sound.
Imagine the world without loudspeakers, we are limited to a range of sensing sounds below which we cant listen.
Here these loudspeakers come to play, with the help of this we can listen to the sound as per our needs it may be high or low depending on our need.
Parties need a loudspeaker that is loud because of how it’s supposed to be.
We can see loudspeakers in most audio devices, like in radios, Tv’s, hearing aid, and most importantly in mobile phones.
The working principle of all these remains the same but the size and internal materials vary as per the requirements.
How 3d printed loudspeaker works
From the below image and above explanations you might have already know the answer, let me quickly explain this.
This works in a similar way to the original speakers only thing is we are using easily available materials.
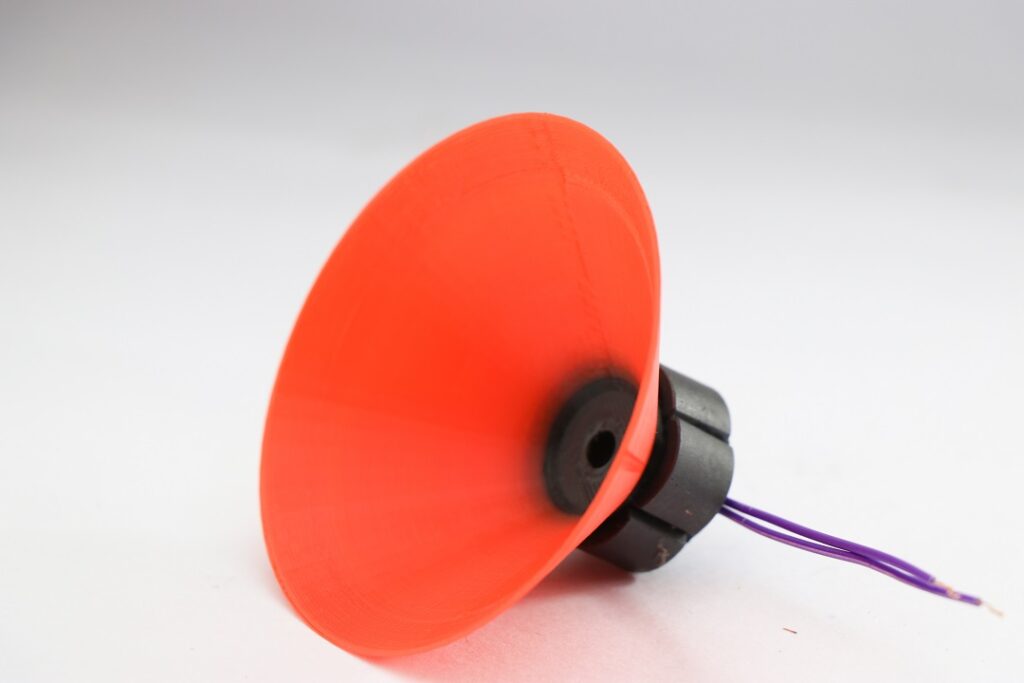
We are using coils of copper surrounded by magnets and these copper coils winded materials just touched the funnel/cone.
When electrical energy is passed through the coils it is converted to mechanical energy.
As we know sounds are the result of the vibration of a particular material/object.
The design is made so simple that it takes you a few minutes of work to make this speaker.
Now let’s begin with the building of these 3D-printed speakers.
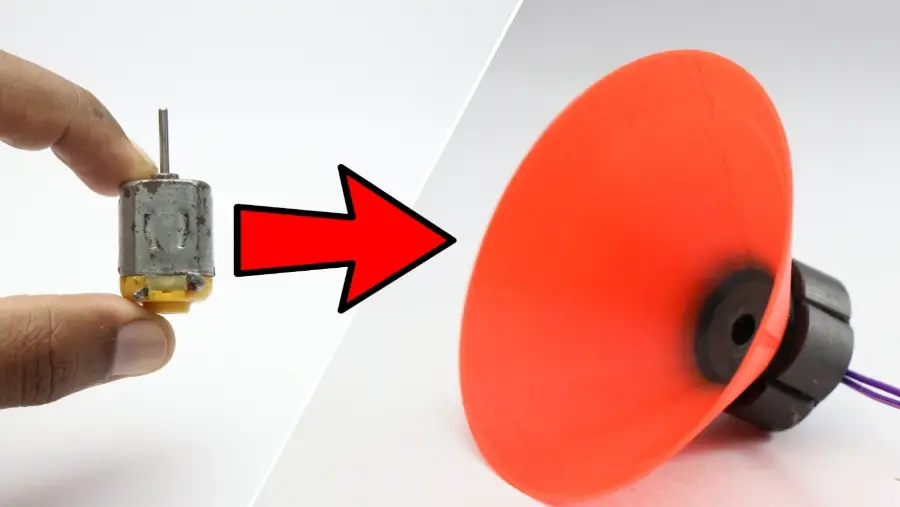
3D Printed Loudspeaker Design
I have made a design that is similar to speakers available in the market.
It follows the funnel type of design where one end of the cone is small and the other is large.
This design and shape is helpful to transmit the sound waves efficiently.
We are making a speaker by taking design considerations of an old toy dc motor.
You can get STL files for this speaker Here
Once you have the design you can 3d print this.
It will take less than 2 hours to get the print.
Phase 1 of Building Loudspeaker from Old DC Motor
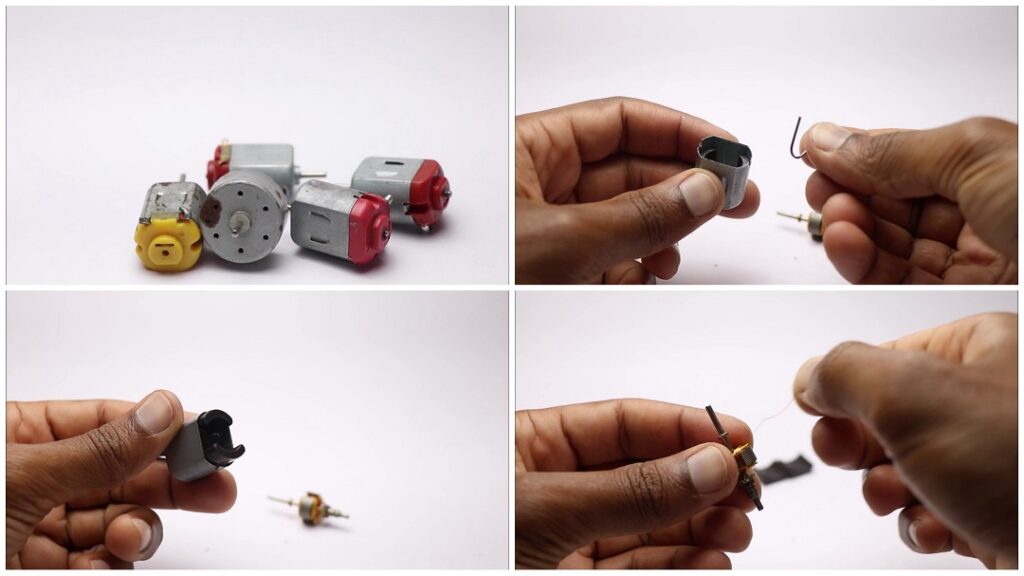
We will start by disassembling the dc motor.
Just remove the locks on that motor that you can find at the bottom of the frame.
Once it is removed you can have a look inside.
We need only 2 parts, the first is copper wire from the rotor and the other is the magnet.
You can easily remove the rotor without any tools, just push the shaft of the rotor.
To remove the magnet you need to remove the U shape pin.
You can refer first image above to see how it looks.
Once you remove this U pin you can easily remove magnets, I used a small screwdriver to push this u pin from inside.
Phase 2 of Building 3d Printed Loudspeaker Mechanism
When you flip the cone you can see that there are slots to insert the magnets.
Just paste the magnets that we got from the dc motor here.
You can see that I have given 2 holes on the bottom side of the cone.
This is for the copper wire that comes out from the winding.
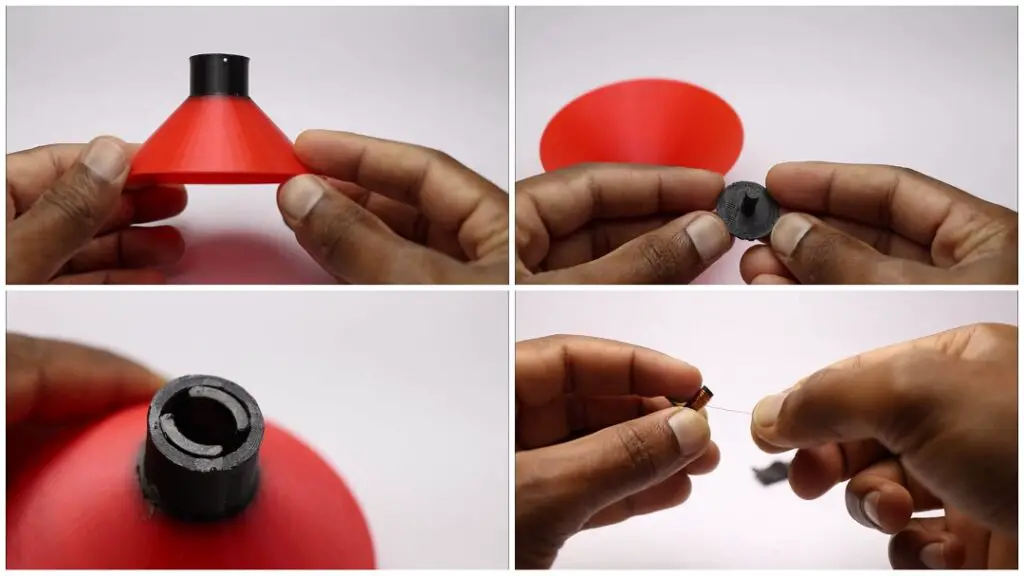
Start by winding the copper wire of the rotor to the winder part.
Out of 3 sets of poles on the rotor, I made use of one pole copper wire.
At the end of winding, we will be left with 2 wires and these 2 will be inserted inside these holes.
As the wire is very weak and can break after multiple uses consider adding new wire.
Before you add new wire make sure you connect that only after removing copper insulation.
Just scratch the top layer or slightly rub sandpaper on top.
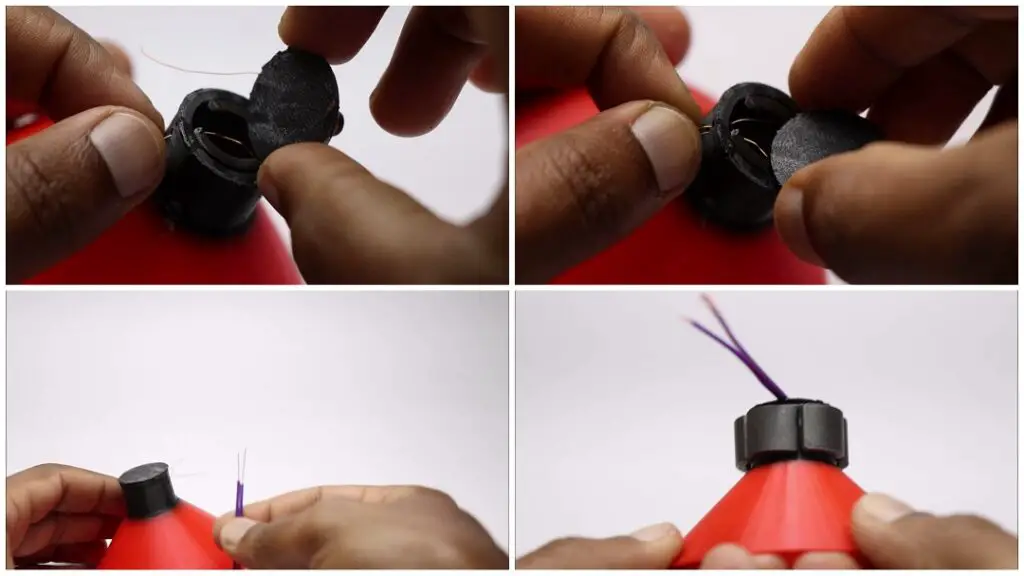
To increase the strength of speaker I surround the speaker base with additional 5 more magnets.
Using flux free superglue makes the work cleaner.
Once you complete this you can test the speaker.
You can connect this via amplifier to smartphones, laptops and TVs.
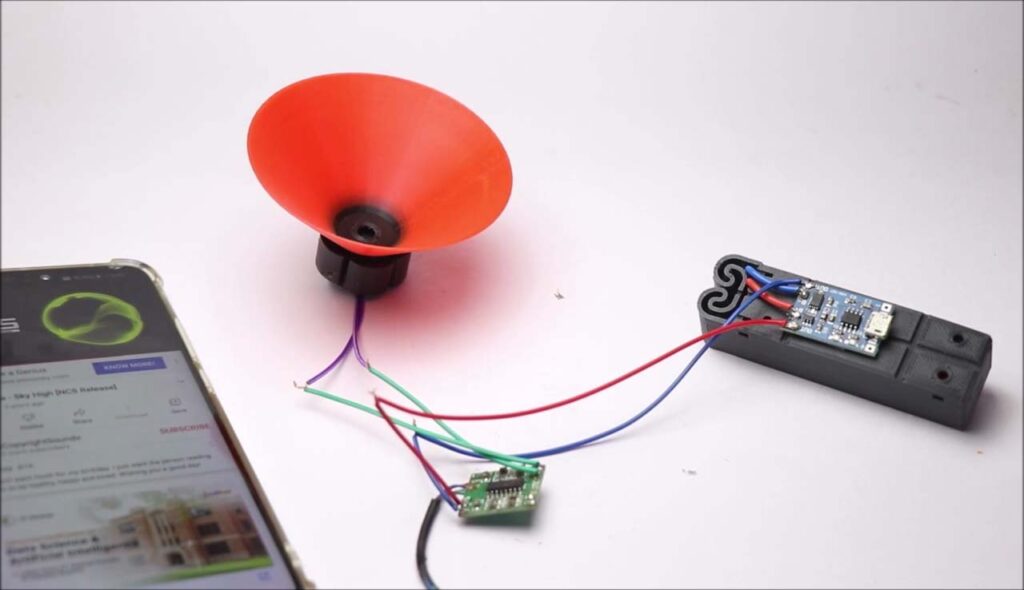
This is my setup to use this speaker, it gave me more than expected results.
I found that it has more sound when connect to a laptop than on phones.
Working video of 3D printed loudspeaker
Watch this video for a complete working video and step-by-step design tutorial.