Working Spiderman Far From Home Web-Shooters without Springs & Magnets
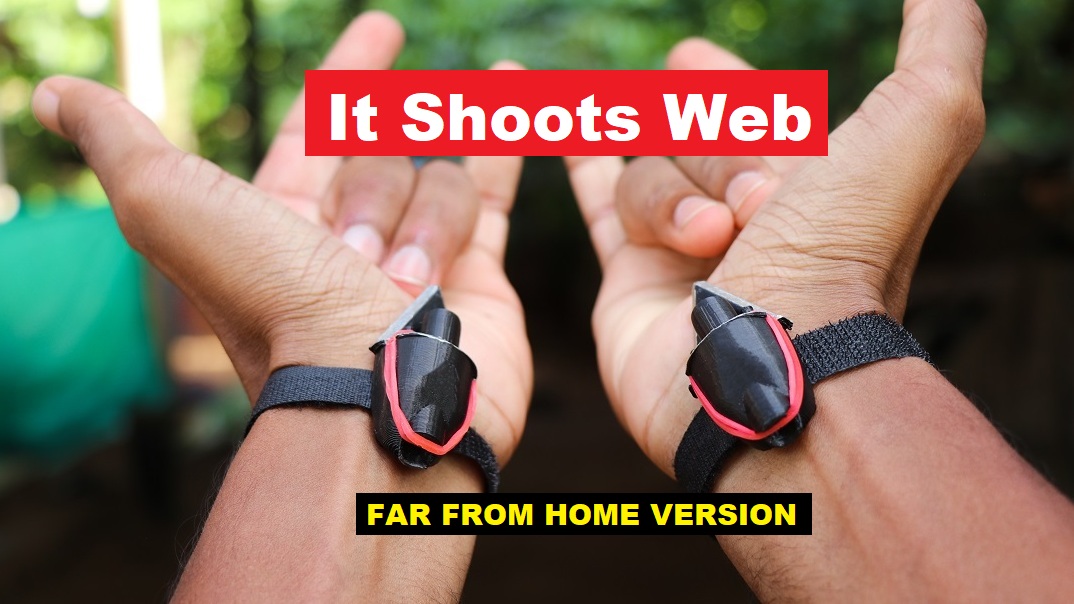
Hey Cosplay lovers, in this post we will be making Working Spiderman Far From Home Web-Shooters without Springs and Magnets.
This Far From Home Spider-Man Web Shooter is 3D printed, it is very easy to print and the total print time to complete all the parts is less than 2 hours.
My 3d printer is equipped with a 0.4mm nozzle, if you have a bigger diameter nozzle the time for a 3d print will be even more lesser.
Once you have your 3d printed parts it takes a very less amount of time to put everything up and finally use these web slingers.
Bonus: If you are a FAN OF IRON MAKE you might Like THIS IRON MAN MASK project.
If it’s not powered by Springs or Magnets how it is going to work?
This might be the question that struck your mind already!
It is powered by an elastic band and the slinger or which we call the web is made using thread, we are using the elastic energy of the rubber band to propel the web.
The science behind its working is very simple, it uses a hollow cylinder through which we insert the slinger part.
In another way it follows some of the principles behind slingers, well those are too powerful and we don’t need much energy here.
We will talk about this in detail further, To begin with, we will see the materials required and the design part.
Materials Required
- 3D printer(if you don’t have one you can use any online/ local 3d printing service)
- Black PLA filament
- Velcro band
- Superglue
- Thread
Note: many had been asking me how to make a web shooter that you can swing on, the answer is it depends.
I always ask you to avoid having such thoughts as it is practically not possible.
It is only possible as fictional stories and we shall appreciate it only in movies, don’t try in real life.
Functional Spider-Man Far From Home Web Shooter Design
In our web-shooter, we are using small energy that will be generated when we pull the elastic band.
This concept is kept in mind and the following design is made.
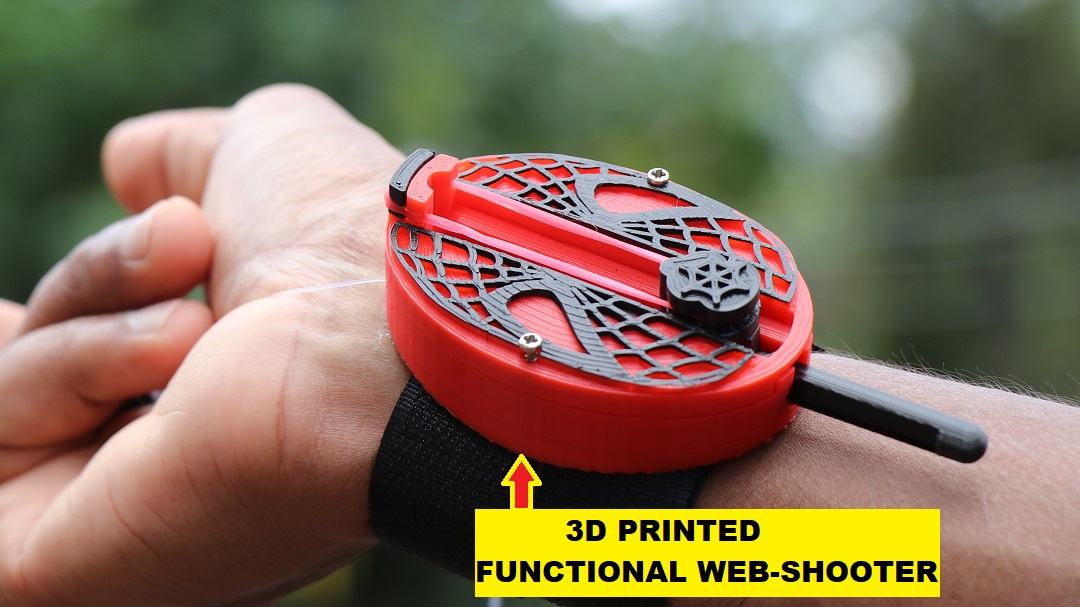
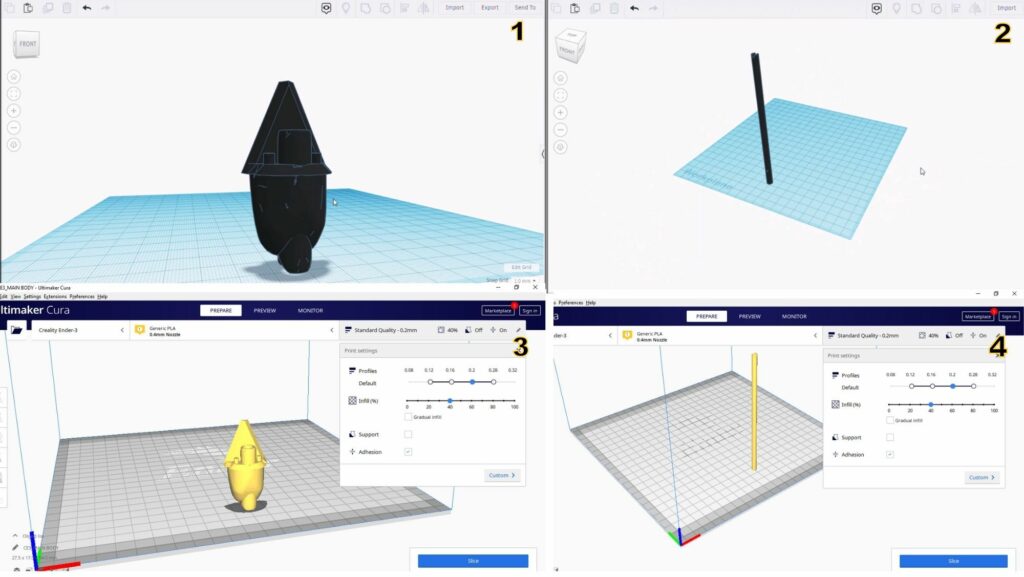
From images 1 and 2 you can see the complete designs.
Part 1 is the Web-shooter body and part 2 is the slinger stick part.
Parts 3 and 4 are from the slicing software, more on printing instructions below.
We are using a slinger that will be pushed back and changes the elastic band, when we leave the slinger the stored energy in the slinger stick propels it.
The thread attached to the slinger stick when it’s released from the web shooter creates the effect of the web.
The same design is implemented here, you can have a look at the designs.
Highly Accurate Spider Man Far From Home Web Shooter STL design
You can get this STL Here.
3D Printing Instructions
From the above image, we can see that parts 3 and 4 are ready to print.
I have kept those designs in a Slicing software meaning software that converts designs to 3d printable format.
Part 1 and part 2 do not need support while printing but make sure you use adhesion at the base.
If you follow the exact same setting you will end up with beautiful and 100% success rate prints.
Also if you are a beginner in 3d printing I would suggest you follow exact same printing position as shown in the above instructions.
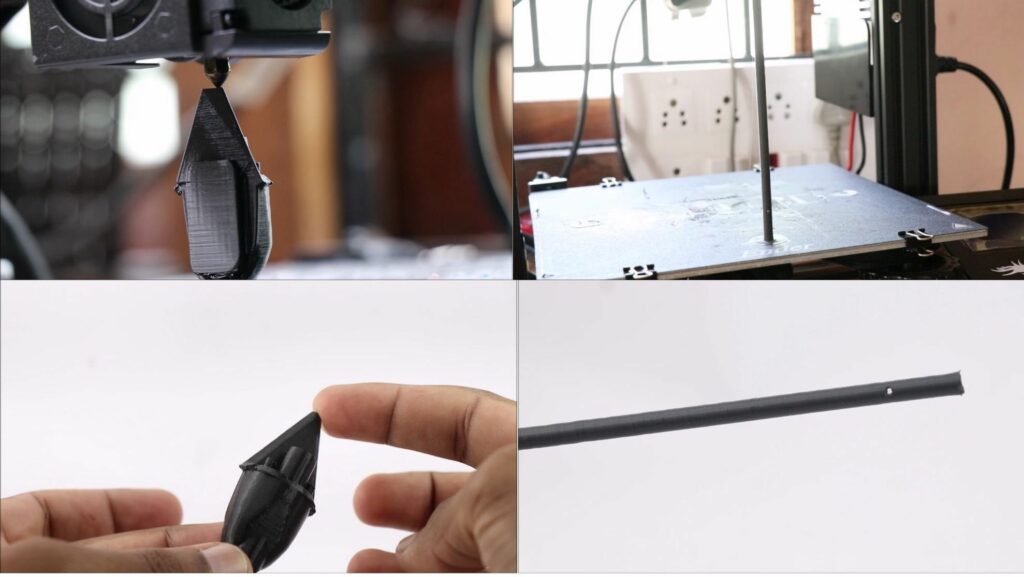
It will take around 1 hour for the body and around 45minutes to print the slinger stick part.
You can see the finished models after the printing process in the above visuals.
Post Processing after 3D Printing Process
There is no need for many cleanings once we get our parts from the printer, as we are not using any supports.
Once we have models ready we can start to color them.
In this case, I will be using metallic silver paint as it best serves the purpose.
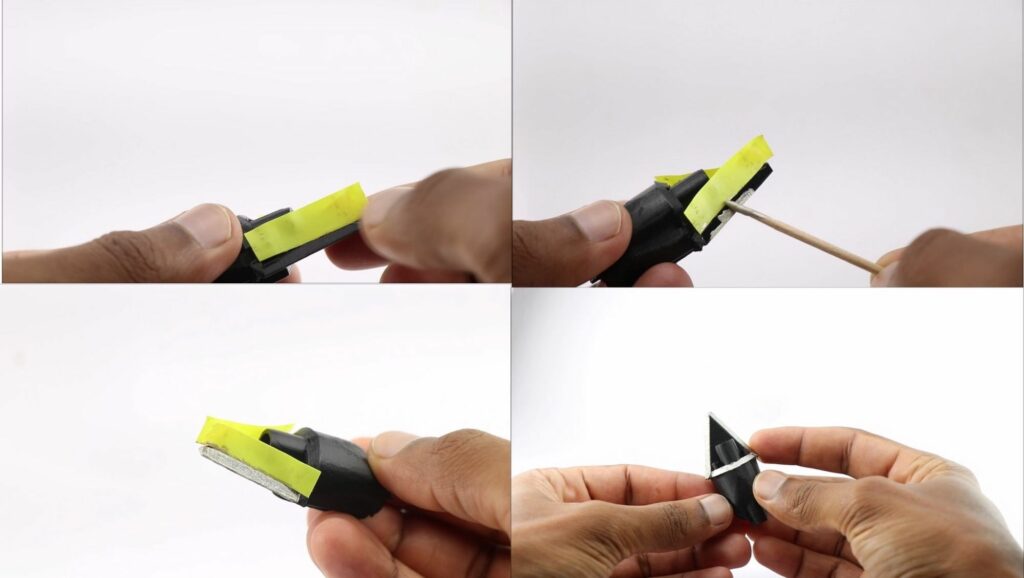
For best results, I suggest using pieces of insulation tape that can easily be removed after the paint job is complete.
Cover the insulation tape around the edges where we are painting silver lines.
You can see the exact areas where we will be working on.
I will be using a toothpick for painting! This is because with brushes working on sharp lines might be a little clumsy.
Once the painting job is done allow it to dry, Finally you can take off the insulation tape.
Paint leftover areas later as it does not need any tricky spots.
Completing the Assembly
For the assembly of Working Spiderman Far From Home Web-Shooters All you need is an elastic band, velcro, super glue, and a piece of thread.
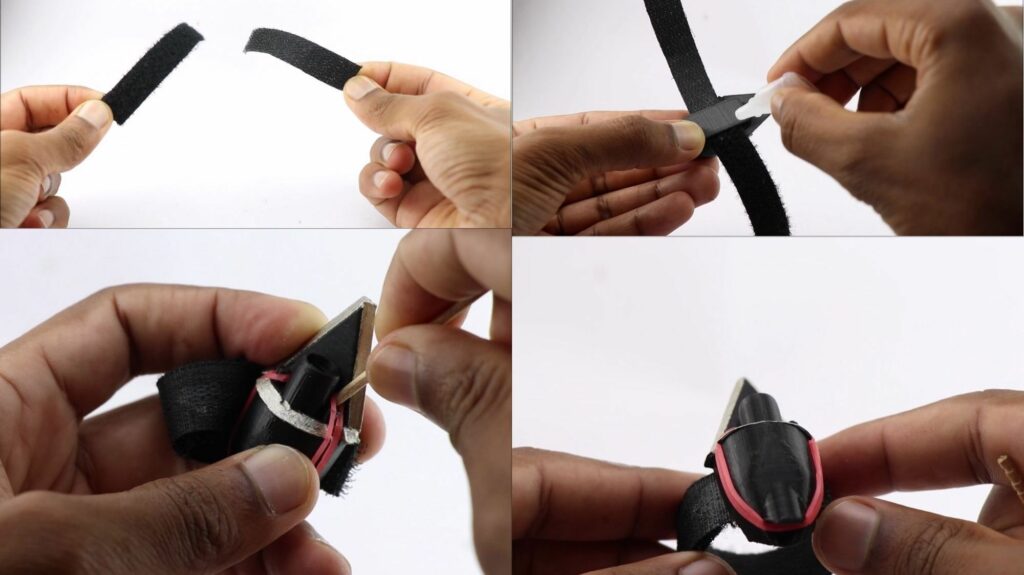
Follow the above steps to attach the velcro band, velcros are best as this makes this web shooter fit the sizes of many hands.
Also, it makes it very easily removable, You can add elastic bands to the slots/locks provided.
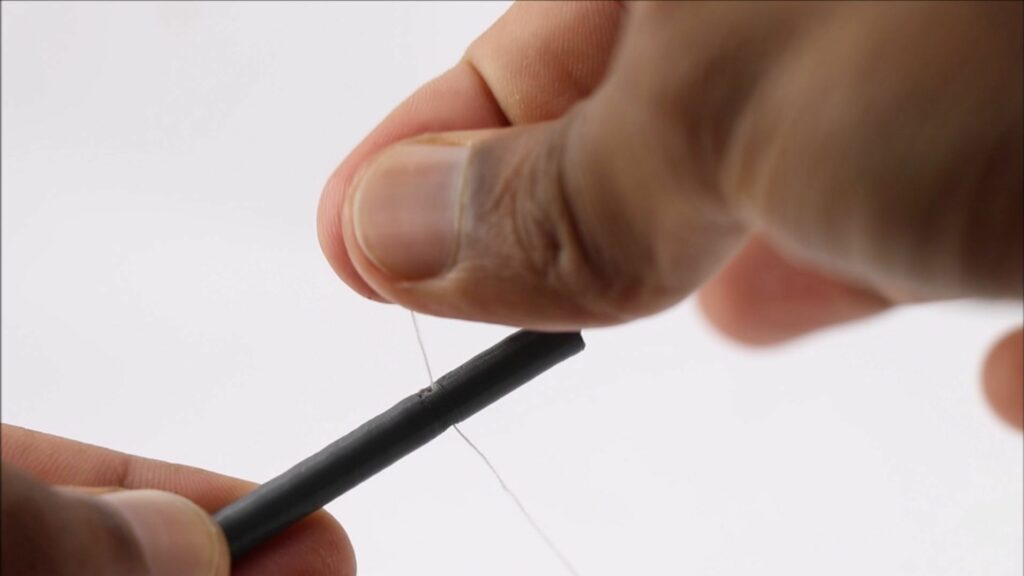
Now, this is ready and we can proceed with slinger preparation.
It is very easy to prepare this, all you have to do is insert the thread into the slot.
If you have inserted a thread inside a needle before this is a very easy task.
If not you might need multiple attempts to finally insert!
Now we are ready to use this web shooter.
If you have not seen my previous web shooters before you might have no idea, let me explain real quick.
How to use Far From Home Web Shooters
Wear this on your hand and adjust the fist as per your convenience.
Just insert your slinger stick to the web shooter body cylinder.
Push the slinger stick backward until you know this force is enough to propel the web.
Release it and watch you web fly in the air.
That is all about this web shooter, you can check my older models in my previous posts.
Video of Working Spiderman Far From Home Web-Shooters
Check out this awesome working video