Make Arduino OLED Clock without RTC
Hi Readers Finally your quest to Make Arduino OLED Clock without RTC ends here!
In this informative article, we will go through all the step-by-step instructions to make an easy and simple Arduino Clock without using a Real-time clock or in other words RTC module.
Before diving into the article let’s see the purpose of building this project.
Note: A video tutorial is given at end of this post.
Don’t miss to check our previous post on Arduino water level indicator Project here.
Why make OLED Arduino Clock?
This is a very interesting project that shows the usage of the OLED display module to make interactive projects.
A digital clock that we are making works exactly the same as the ones we use on daily basis.
If you are seeking for a useful Arduino OLED project this is one of the best choices.
The best part here is this version does not use any RTC module.
RTC stands for real-time clock module that keeps a record of time.
But the problem with RTC is it needs an external battery to keep the track of time.
But our project works fine without this module.
How Arduino OLED Digital Clock Works
As said earlier this is no less in comparison to working with an ordinary digital clock.
We are using a combination of Arduino codes that interact with the OLED board to give the specific output(Time).
This follows the usual time pattern.
This is a plug-and-play device which means it starts to work as soon as you switch on the power supply.
You can power this up via any USB device.
Don’t worry about setting the time! This has 2 buttons with which you can adjust the time as per your time zone.
Materials to make Digital OLED clock from Arduino
For beginners with no prior experience with the names of the parts or how they look here is the visual.
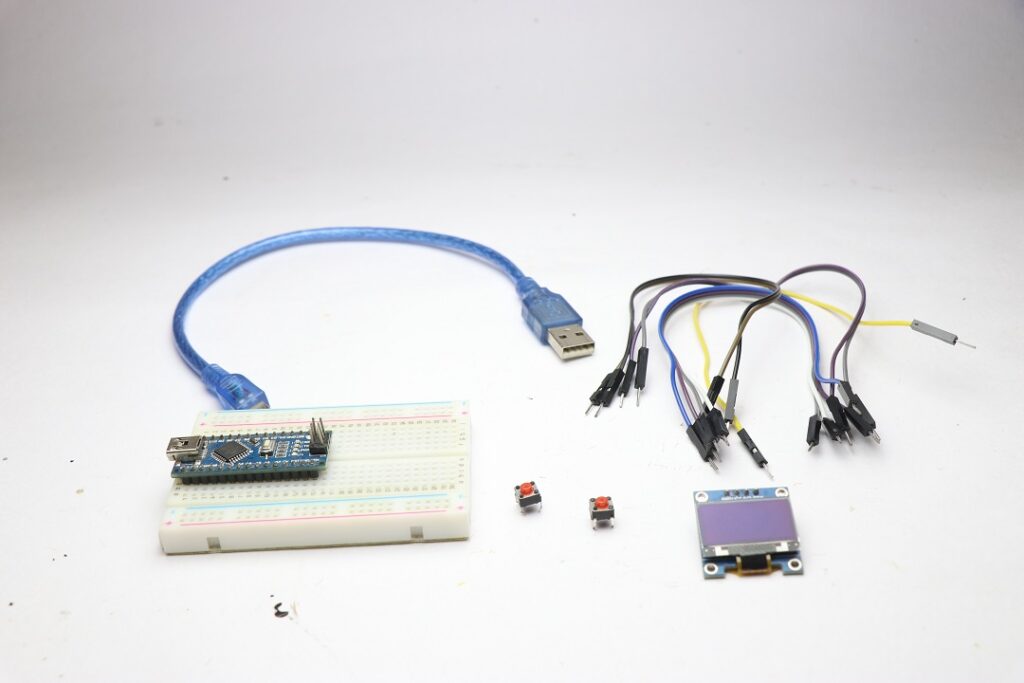
- Arduino Nano
- Programming cable
- Breadboard
- OLED display module
- Push buttons
- Jumper wires
- Arduino IDE
After you gather all the above-said materials you can just start to build the circuit.
I always mention in all of my posts that if you gather all the materials then start to build.
This saves lots of time and you can finish the project as soon as possible.
Circuit Diagram for Arduino OLED Clock Without RTC

The circuit that you are looking at is very simple.
Let me explain this easy Arduino circuit diagram so that everything becomes much clear.
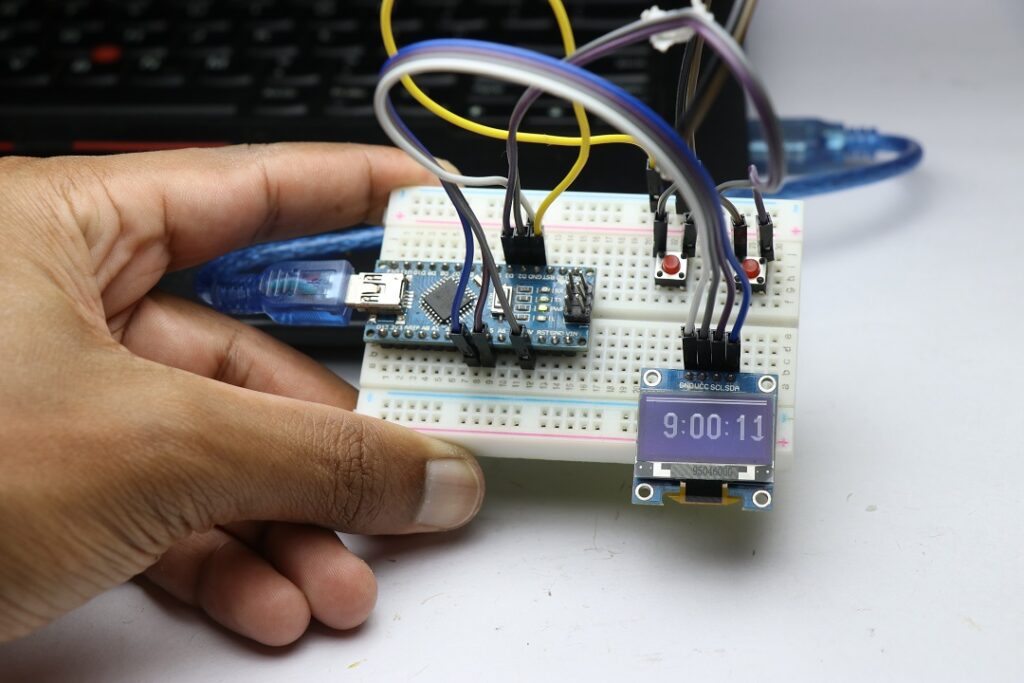
Arduino OLED connections for the digital clock project
As we know OLED display board comes with 4 pins
Since we are using Breadboard these pins fo with slots on a breadboard
Scl, Sda, Vcc, and Gnd
Vcc and Gnd are for power
Vcc is connected to 5v pin of nano, Gnd goes with a negative rail of the breadboard
Scl to A4 pin of Nano and Sda to A5 pin of nano
This completes the connection with the Oled board
Push button connections
Push buttons provide us the option to set the time as per our requirement
We need 2 of these buttons, One to increment the time value and the other to move hours, minutes, and seconds dial
Push buttons have 4 pins in total
We just need two of them
Let’s name them Pushbuttons 1 and 2
As you can see from the circuit one pin goes with the negative rail of the breadboard
This is the same with another push button also
Another pin of pushbutton one and 2 is connected to D2 and D3 pins on the Arduino Nano board
This completes the circuit and this can be done in less than 5 minutes
Now as the circuit is done it needs Arduino code to work, you can see the codes below
Arduino code for OLED digital clock without RTC
Check These Arduino Clock code That makes this project come to action.
Just open this and paste it to your Arduino IDE.
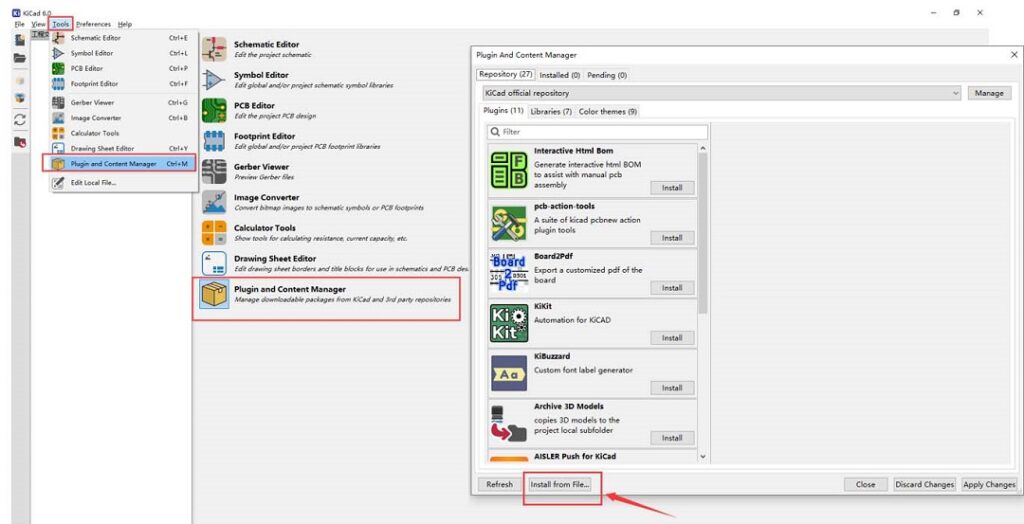
If you don’t have an OLED display library you can get it from here
Just open IDE, From the menu click sketch, Include library and then add zip library.
Select the library file from downloads and click on Ok.
Now you can finally upload the code to Nano.
If you get any errors just check for tolls in the menu and click on the proper port by selecting the Port option.
Finally hit the upload button and wait until it’s done.
As soon as this is done the clock starts to work immediately.
If you want to shrink the size of circuit board you can use a custom PCB.
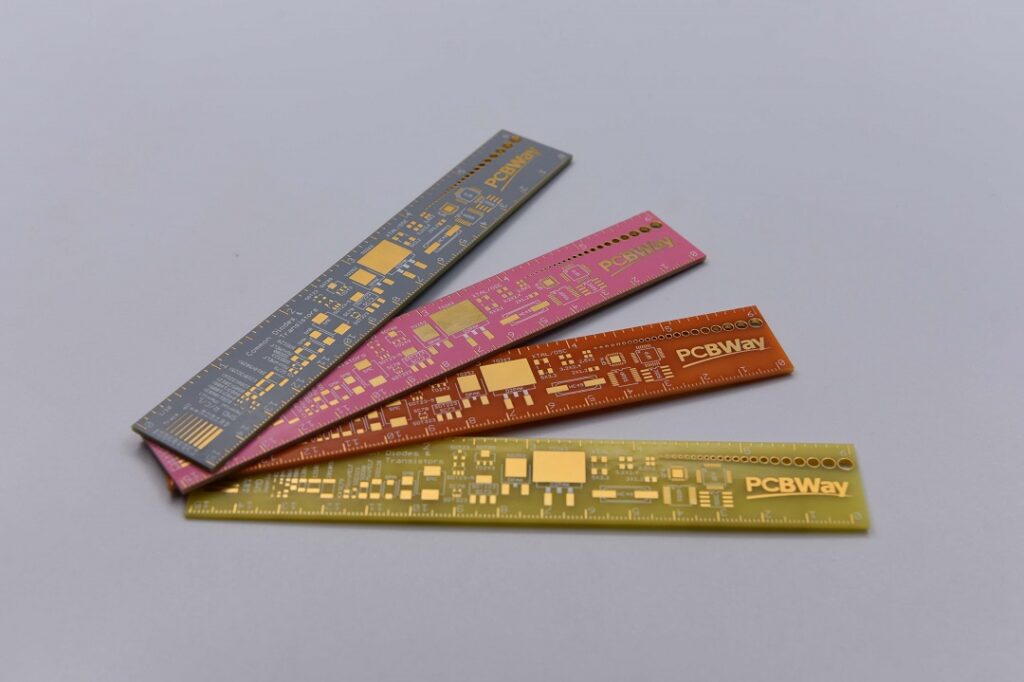
PCBWAY Circuit Boards are Cool
PCB WAY offers high-quality PCB at a very affordable price to make many interesting electronic projects.
PCBWay provides FR-4 & Aluminum boards in addition to advanced PCBs like HDI, Rogers, Flexible & Rigid-Flex boards, at a very reasonable price.
More details are given below.
We are running 5th Creators Competition, Click here to enter to win a Raspberry Pi pico .
We now have Technical cooperation with kicad and FreeCAD check the details for freecad and Kicad.
Don’t miss to check our largest range of Solder Mask colours on the market, especially pink.
Happy to say that we now have New 3d printing and CNC services click to know more.
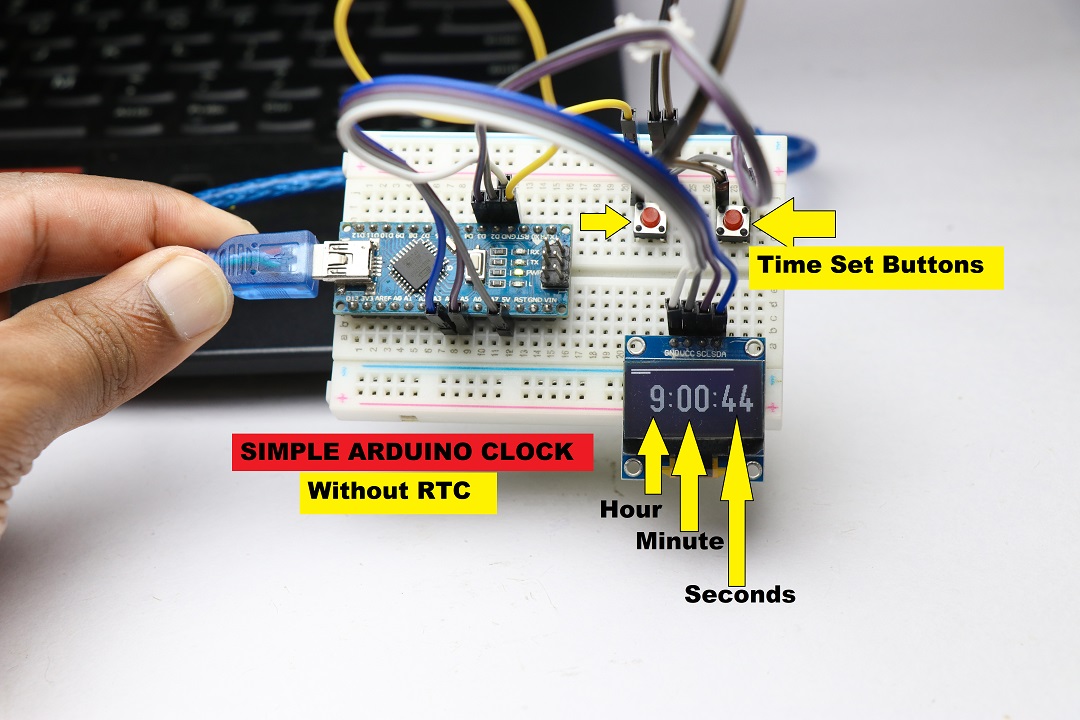
How to Use Arduino Nano OLED Digital Clock
Just power Arduino Board with USB supply.
The clock starts to work and the default time starts from 0.
Use the push buttons to set the time.
One Push button moves the dial for Hours, Minutes, and Seconds.
Another push button increments the time value, if you miss setting the exact time just push and hold the button.
This will make the increment values run faster so that the adjustments can be made very quickly.
I have made a video tutorial for this project, You can watch them and get more details of the same.
Video of OLED digital clock using Arduino nano without RTC
Video of this Arduino clock project.
Thank you for reading, any questions are welcome in the comments box.


