Spider Man Miles Morales Mask
DIY Spider Man Miles Morales Mask at your home using easily available materials
In this post we will go through step by step detailed tutorial on how make Spiderman mask at home from miles Morales version
This article includes Spiderman mask template which you can use to make your own spider-man mask
Lets get straight into tutorial
We will start to make this by gathering few essentials
Supplies necessary to make spider man miles Morales mask
- Cardboard
- Few sheets of A4 size paper
- Super glue and normal paper glue
- Spray paint and fabric paint
- Rubber bands and fish wire
Spiderman mask template
I prefer diy Spiderman mask template rather than printing directly which is readily available
The reason for the above said statement is every individual has different face sizes while there is no age gap for fandom!
As a result building this as per your measurements of face size gives you better fit
The below given templates worked best for me i made use of A4 size sheet to design this later trace it on cardboard
Also You might be interested in MINI FALCON WINGS TEMPLATE

This is small part of half side from our mask just draw or trace this on your paper and check with palm of your hand
Palm size is almost equal to face size hence it gives rough idea whether it fits or not
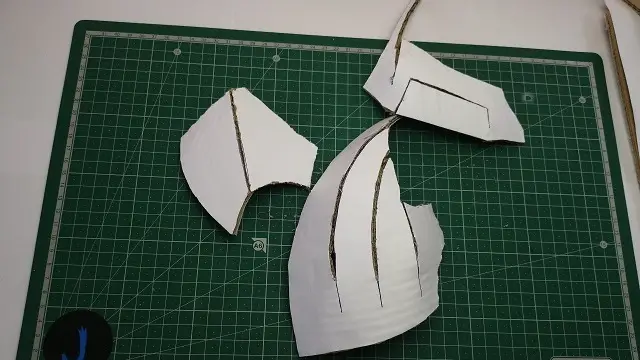
Use small amount of paper glue to stick this sheet on cardboard and cut using paper cutter
Diy Spiderman mask template
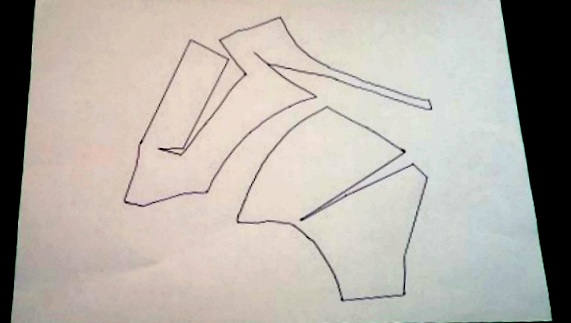
The above design fills leftovers of half part repeat same above said steps and obtain this shape on cardboard
I use single corrugated cardboard, Double corrugated will make you have a very had time as its very difficult to retail shape
After all steps are complete you will be left out with 3 such pieces as in visual below
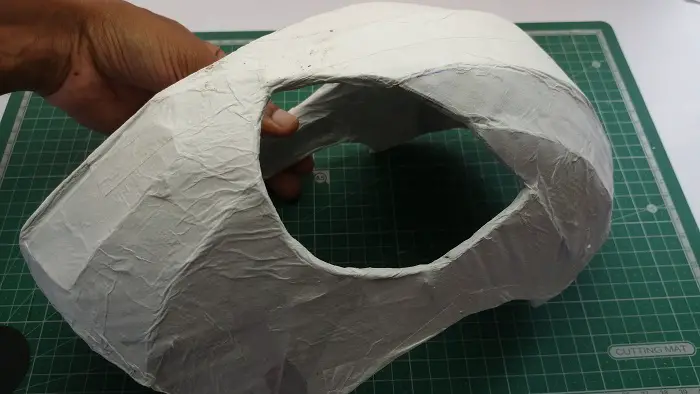
After assembling this we get half of our face shell , to get other half repeat same steps as given above
Join 2 shells so that we have full mask that looks like this
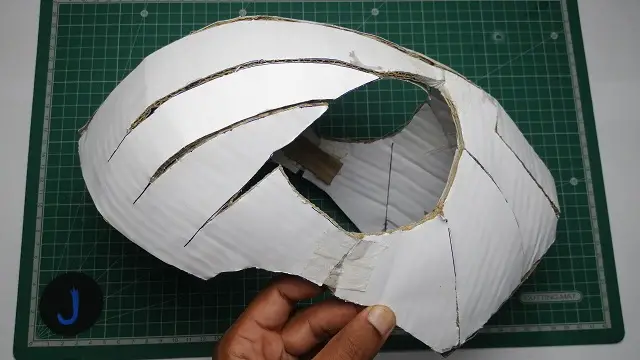
The above shell looks so wonky right! yes it is so we have work on fixing 2 issues here
First being there are lots of spaces between cardboard joints and second being shell is not so strong
To fix both of the problems there is one easy way
Use normal white paper glue mix with water then apply a coat over this followed by adding pieces of tissue
This process took me 1 hour straight to complete covering each and ever detail of this shell
Even though it consumes time make sure not to loose your patience as at the end its definitely worth it
The shell that took around 24 hours for complete drying looks like this!
This took up around 15 tissues you can add more tissues which adds to increase in thickness as well as strength of the shell
Finishing cardboard spider-man mask
After you get your dry hard shell paint it with spray paint
If you don’t have one fabric paint does the job for you
Painting inner surface is optional as it will be hidden i sprayed it too
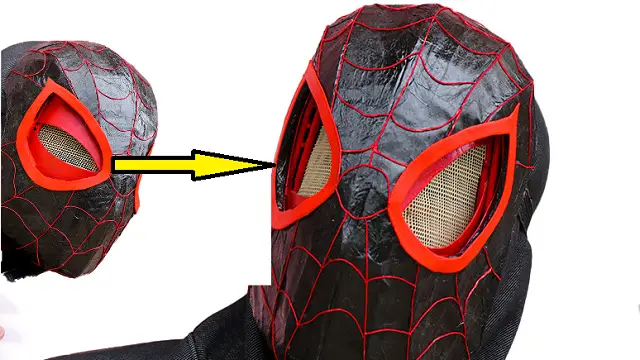
Now for good finishing of this shell i made use of inner surfaces of eyes and trace it on sheet of paper
This should be done manually as we cant have template for this part this is because design undergoes changes as result of cardboard joining
Obtaining proper and accurate fit is highly difficult hence after the shell is dry take dimensions of design
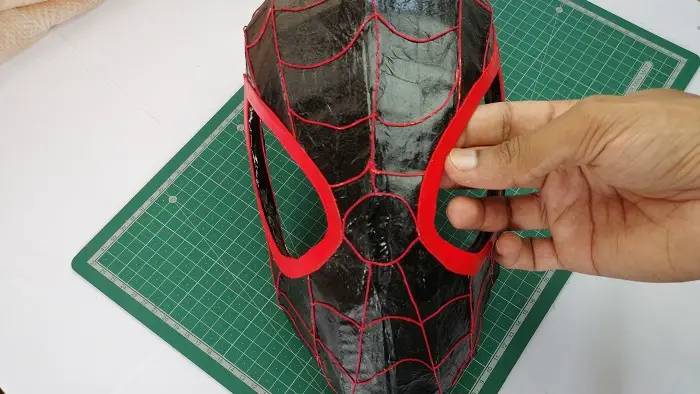
After cutting outer eye covers on thin piece of cardboard and later spray paint with gloss red spray paint gives you finish like above visual
To give appealing appearance i add web like structures on shell
To do this, Color woolen thread with red color fabric paint and start to add across all sides as shown in above image
At this point we have our Spider-man mask ready but there is no life in it
To give life we need to make small and simple mechanism which i will show now
Spider Man Miles Morales Mask moving lens mechanism
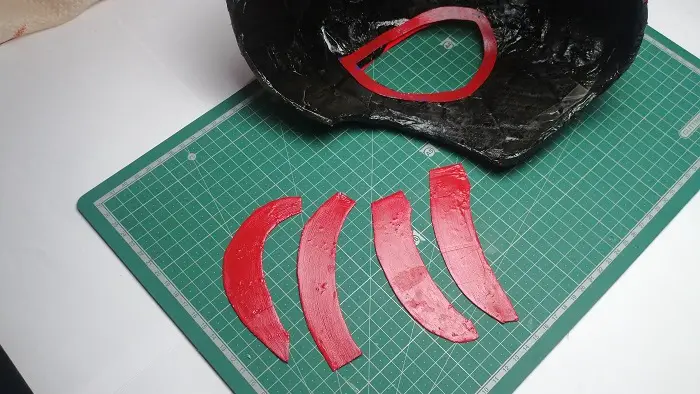
We will need 4 pices of lens frame that is slightly large in size comapre to outer lens to make moving lens mechanism
This mechanism to be explain in very easy way i would say this is similar to scissors working principle
Each of 2 will be pin at the end that works like screws of scissor
When we apply force to one end one frame will move up so we are talking about total 4 lens pieces
So to work 2 at a time simultaneously we have to link both in sucb a way that moving of one will move other too
This can be done using fish wire
Here i connect one lens with fish wire in the following path i add a tube made from paper then this wire is add to second half of lens
By this way if i pull fish wire it results in closing of lens
Lens closing and opening mechanism
So what about opening of lens after it closes?
This was a problem which made me scratch my head but the solution was very simple
Just add rubber band across 4 of the lenses side
This way lens will be held by bands as a result by default eyes will be open upon pulling the string eye closes which when release opens
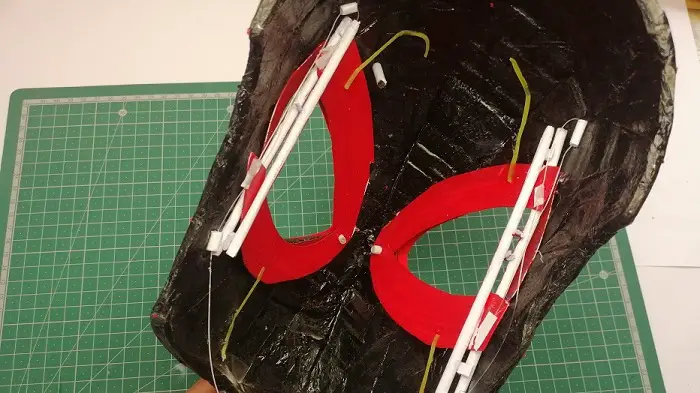
This is shown clearly in above image
This is inside look of moving lens mechanism, Lighy yellow color rubber bands helps to pull back when string is pulled to close the lens
You might be wondering what is that white tubes going trough sides
Those were add to ensure smooth flow of lenses when its pull by string also i add limits so that lens do not come out
After this is done i add a layer of mosquito mesh that gives neat appearance to the overall structure
Our Mask is ready to use!
Spider man miles Morales mask video tutorial
Check how this Miles morales spiderman mask working in this VIDEO
As as some of the pin to pin making points might have miss here
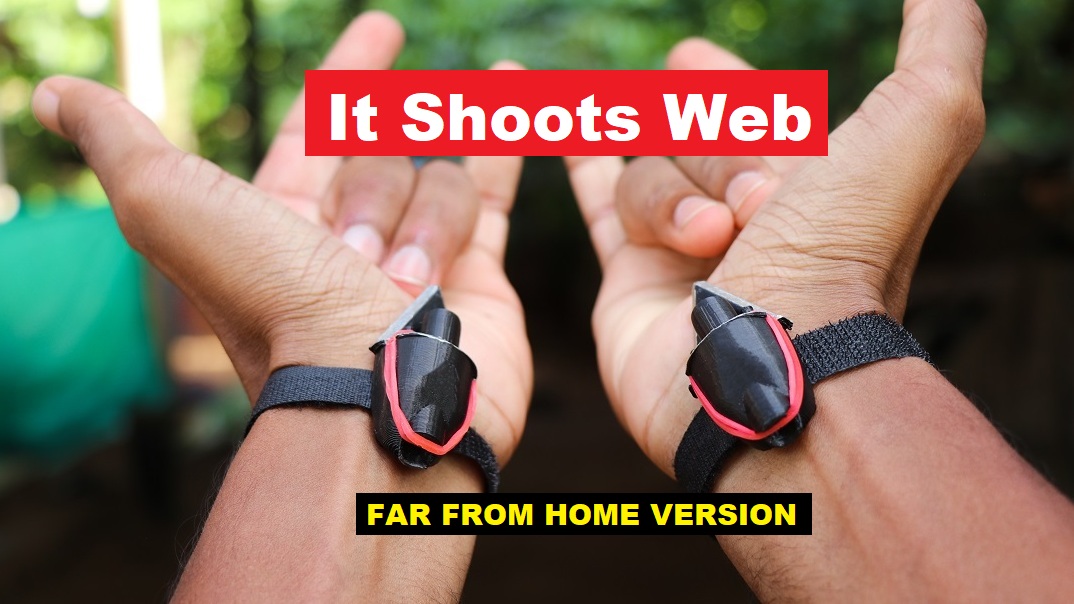
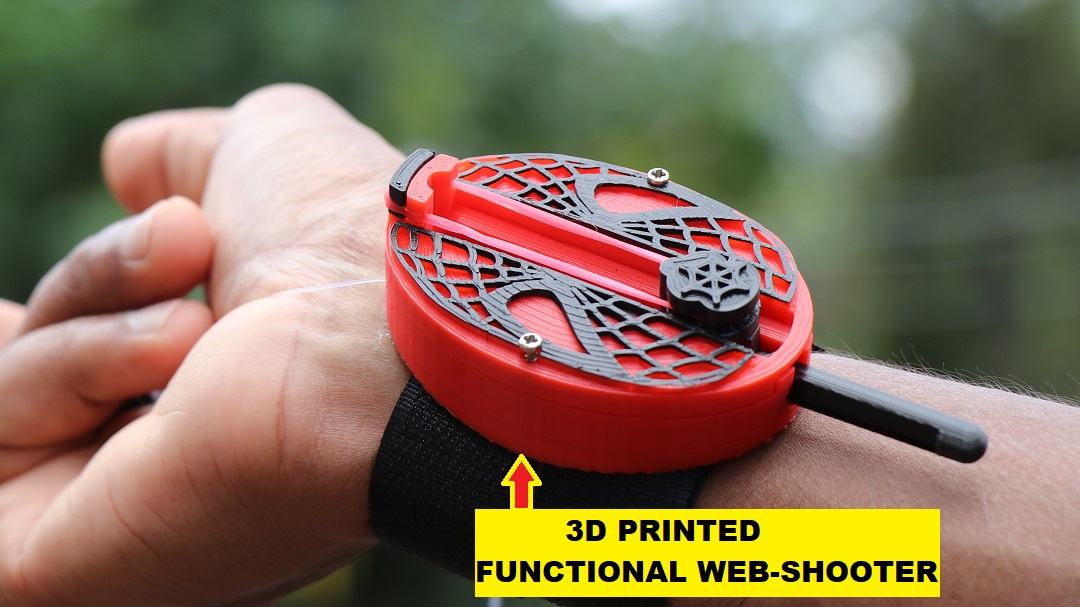
Don’t Miss to check this CRAZY SPIDER MAN WEB SHOOTER
Hope this was interesting, Thanks.