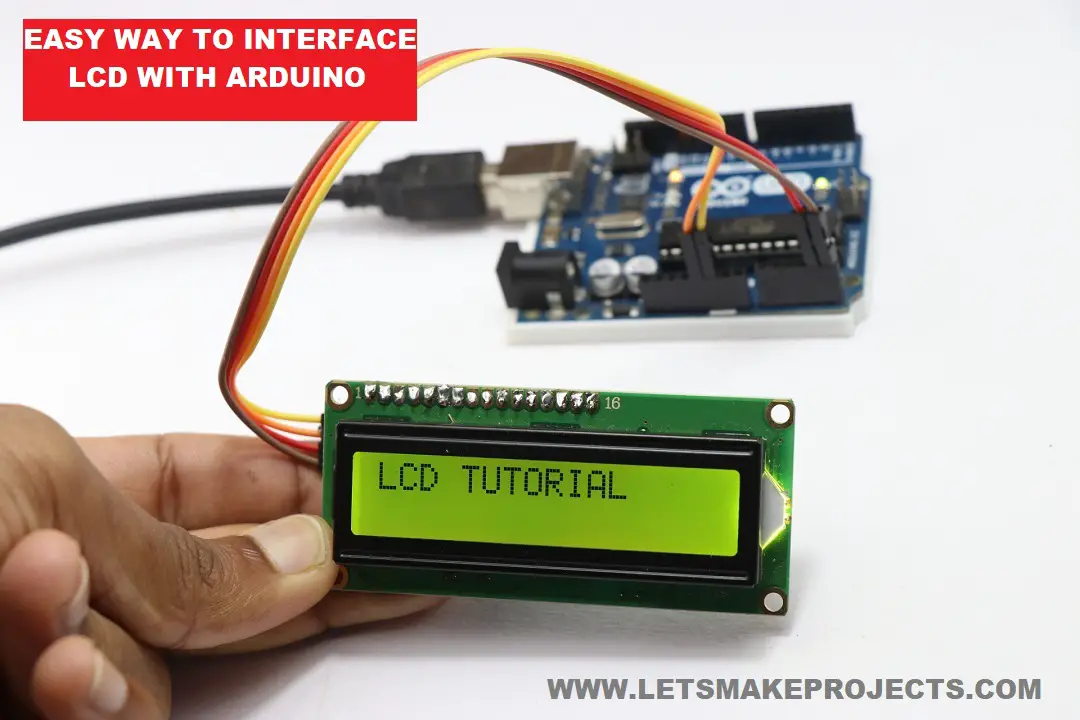
How to Interface LCD with Arduino in a Very Simple Way
Hi are you struggling with the newly bought LCD display and want to know How to Interface LCD with Arduino Uno in a very easy way, Then you are on the right spot.
Even I remember when I bought my first LCD display module and struggled to make it work.
I searched for various tutorials but I found most of them were not easy to follow.
So I came up with this easy step by step tutorial which anyone can follow.
Interfacing with Arduino is not a difficult task as you think, I will be explaining the very right and easy way to make your LCD display work for any of your projects.
Components to Interface 16×2 LCD with Arduino Uno
You need these basic materials which are easily found on local electronics.
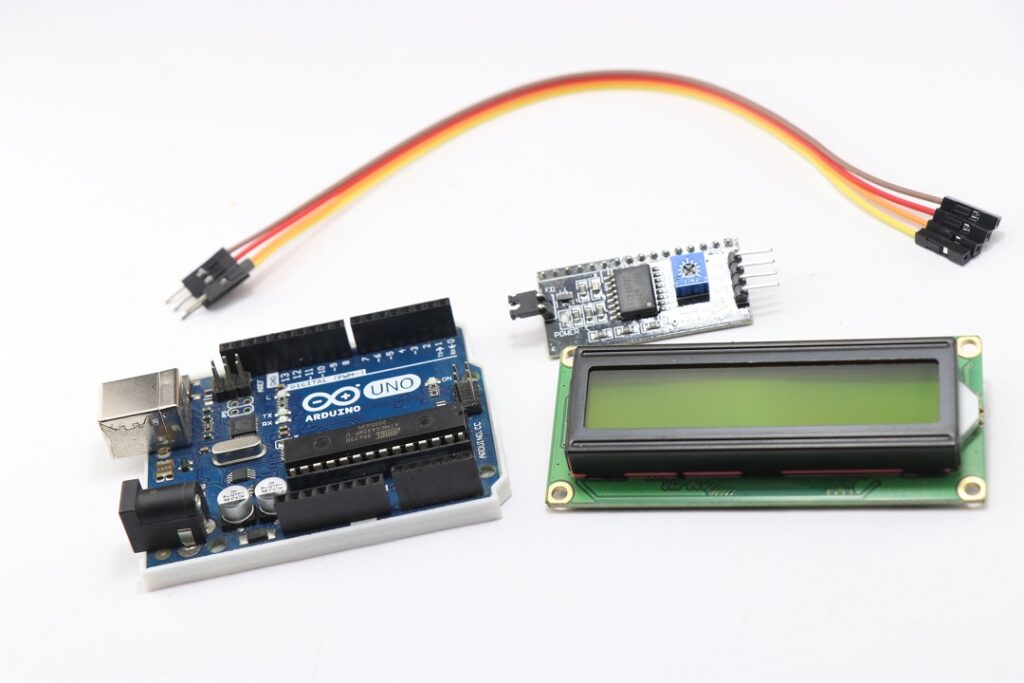
Arduino Uno, 16×2 LCD module, I2C module, and a few jumper wires.
To upload programs you need an Arduino Uno cable and IDE.
To begin with, let me give a quick overview of what the LCD display module for Arduino is all about.
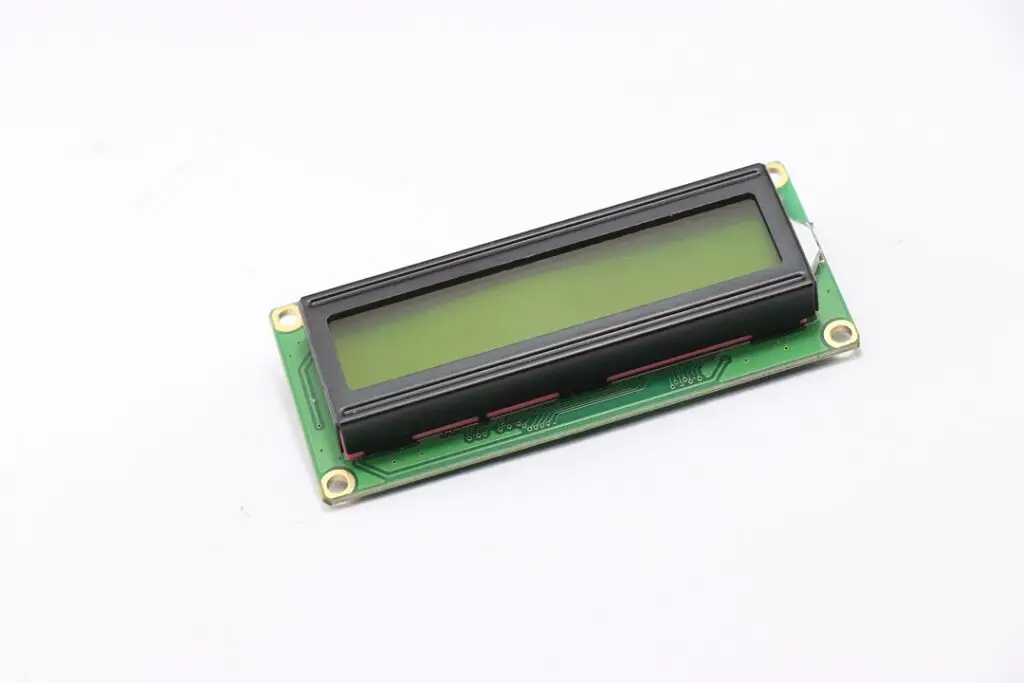
How 16×2 lcd display works
This is nothing but an electronic component like many others built to visualize texts and characters or in short data on an LCD screen.
LCD is a short form for Liquid crystal display and it is capable to display 16 characters on a single line and it has 2 lines so the name is 16×2.
The limit of pixels for a character is 5×7.
Overall it can display 224 characters and symbols.
These are some of the basics before getting hands-on.
Now you might be wondering what is i2c display module, It is nothing but a time saver as I can say!
This is because if you are not using an I2C module you might need an extra bunch of wires to connect LCD with Arduino.
LCD with pin comes with 16 different set of ports that needs to be connected individually which is a difficult task for a few.
With the help of I2C, you can get the job done with just 4 pins depending on what kind of project you are working upon.
So the number of pins will reduce from 16 to just 4.
View of the I2C module for 16×2 LCD
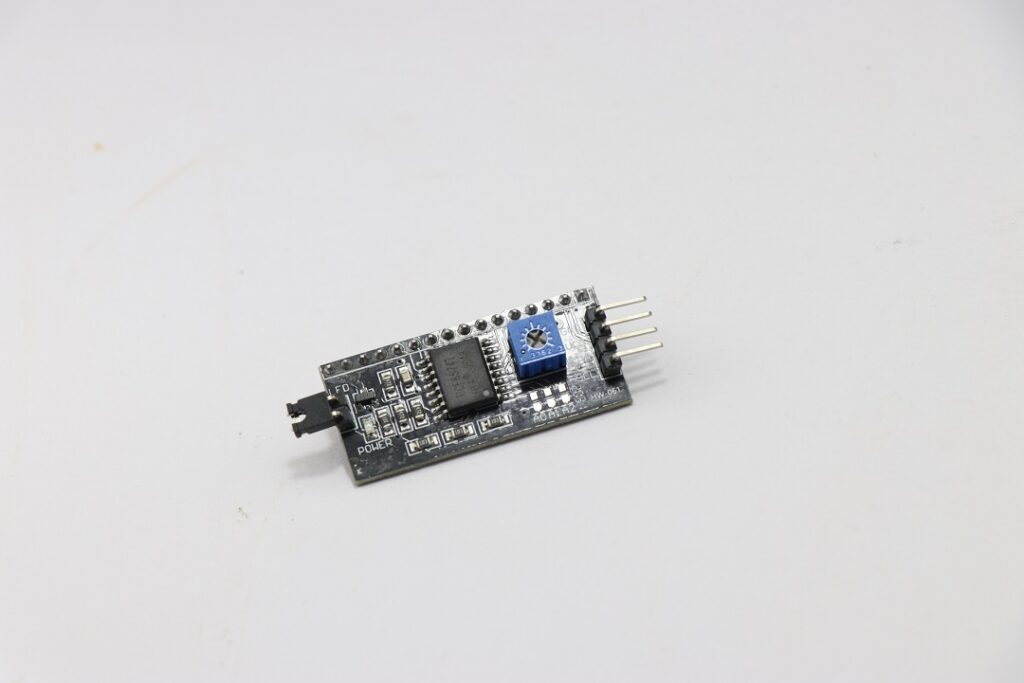
You can see that there are very few pins hence the job becomes easier.
One main advantage of using this module is the usage of ports of Arduino reduces to a very large extent.
This leaves room for extra ports meaning additional sensors or components can be attach to make better projects.
Another benefit of using this is there is no need for an additional potentiometer for LCD.
Without i2c if you use an LCD module you need a potentiometer of 10k.
I2C module comes with an onboard potentiometer that can be turn to change brightness on LCD as per your requirements.
Just attach this module on the backside of the 16×2 LCD module and you are set to go.
Now you became an intermediate as you know a lot more about these modules than before.
Now let us connect all these components together.
Interfacing lcd with arduino circuit diagram
Follow this simple circuit diagram to make connections.

If you are not good at visualizing circuit diagrams here is the breakdown to make connections.
I2C module for 16×2 LCD has four sets of pins that we use.
These are SCL, SDA, Vcc and Gnd.
SCL or serial clock will go with Analog or A5 of Arduino.
SDA or serial data will go to the A4 pin on Uno.
These are the only connections you have to make.
I2C module is the only way to interface LCD display Arduino without potentiometer.
Complete circuit after connections is as in the below visual.
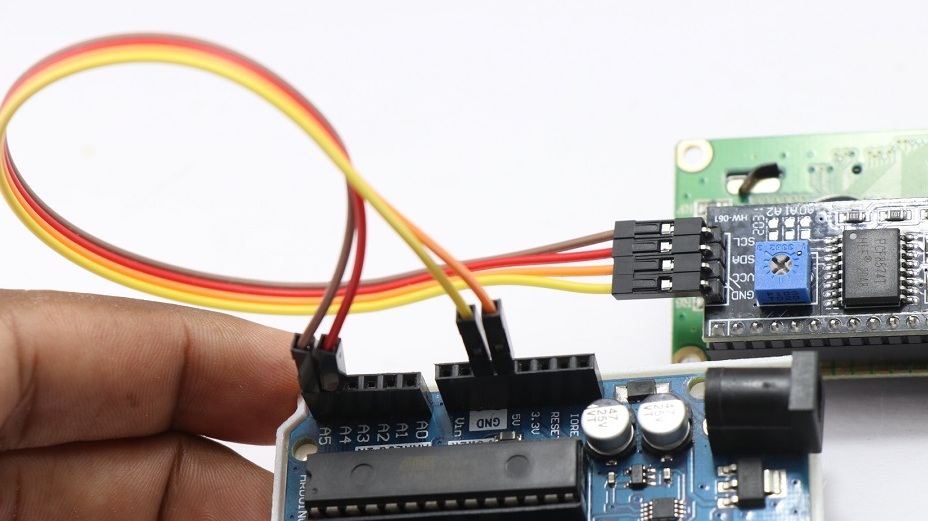
You can see the pin numbers from the actual connections, There is no need for turning the potentiometer unless you find the LCD backlight display is too low.
This completes our circuitry part, now we can move to programs.
The Arduino codes to make this project work are very simple.
This is LCD i2c Arduino code that displays 3 different sets of characters in an interval of 5000ms delay.
Just copy and use this Arduino code on your Arduino IDE.
Steps to upload LCD I2C Arduino CODE
Not limited to just hello world but you can display any alphanumeric characters, I have given comments inside codes for better understanding.
- Before uploading code to arduino you need the LiquidCrystal_I2C library pre-installed on your Arduino ide
- If you don’t have one get it here
- Just download the zip file and later from Arduino ide goto sketch then include library later add zip library
- Now select the file which you just downloaded.
- That’s it now you can upload the code without any issues
- Once you have the code on uno your LCD starts to display the characters as given in program
- you can make changes and use your own characters on lcd.print(“LCD TUTORIAL“)
- This highlighted part can be changed as per your taste
- Time at which it should blink can also be changed
- You can play with this code so that you can explore all the possibilities and gain practical experience
Hope you are clear on how to interface lcd 16×2 with arduino and found this tutorial useful, any other queries are welcome, we have a comment box!
Don’t miss our previous project on Robot using RPi pico


