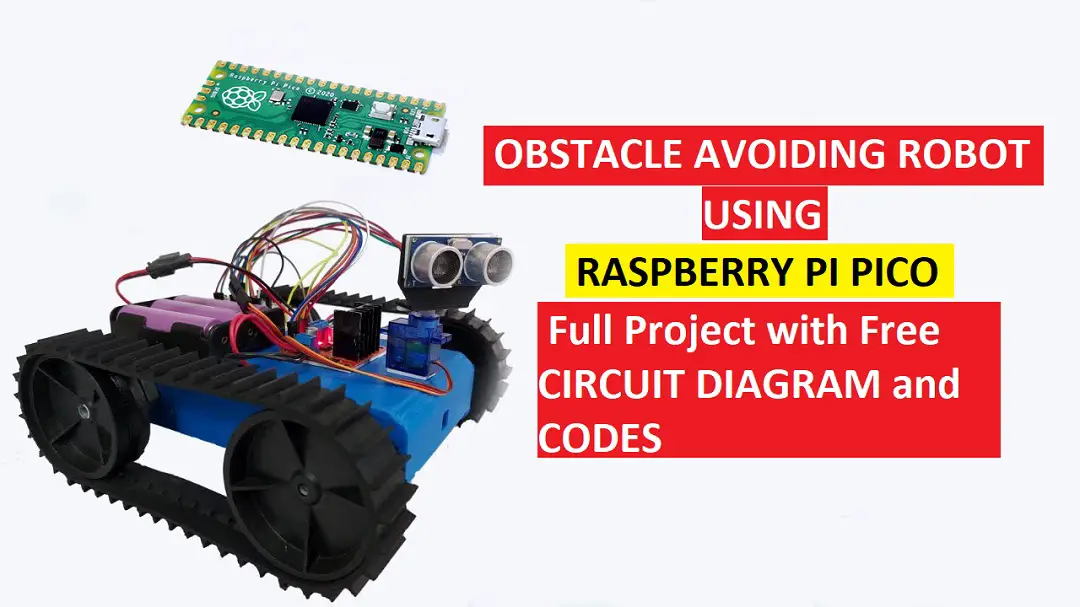
Raspberry Pi based obstacle avoiding robot using ultrasonic sensor
Hi Readers in this project we will make Raspberry Pi based obstacle avoiding robot, by making this robot you will also learn additional 4 things apart from building a fully functional robot.
- How to use a servo with raspberry pi pico
- Raspberry pi dc motor speed control with l298n
- Ultrasonic sensor interfacing with raspberry pi with python code
- Commands of Python and its applications
So it is a bonus building this robot project, this can be a good topic for mini projects with raspberry pi pico.
What is Raspberry Pi Pico Obstacle avoiding Robot
It is a robot that runs on wheels and changes its path when it detects any obstacles.
It uses a micro servo and an ultrasonic sensor to scan the nearby environment in real time thereby when the robot is moving forward if it detects any obstacle it stops and changes its path to avoid the collision.
There is a lot of future upgrade plans for this robot like a robotic arm, video streaming device and many other.
The materials used to make this robot is less expensive and easily available around you.
Materials required
- Raspberry pi pico from here
- Micro servo, 60rpm motors and ultrasonic sensor from amazon
- Motor driver L298N here
- Breadboard for pico connections
- Jumper wires
- Lithium-ion battery with 3 type battery holders
- Thonny IDE and USB cable
If you want to know more about L298N you should definitely check THIS
As an amazon associate, I might earn from qualifying purchases at no extra cost to you.
These were the electronics, Now for the body of this robot, we are using 3d printed case along with a chain wheel mechanism.
If you Don’t have a 3d printer you can use normal chassis with BO motor and wheels.
The advantage of using a chain wheel system is, It makes this robot perform well on offroad terrain and most importantly 60rpm motors have high torque.
You can have a look at parts use to build the Body for our obstacle avoiding robot.
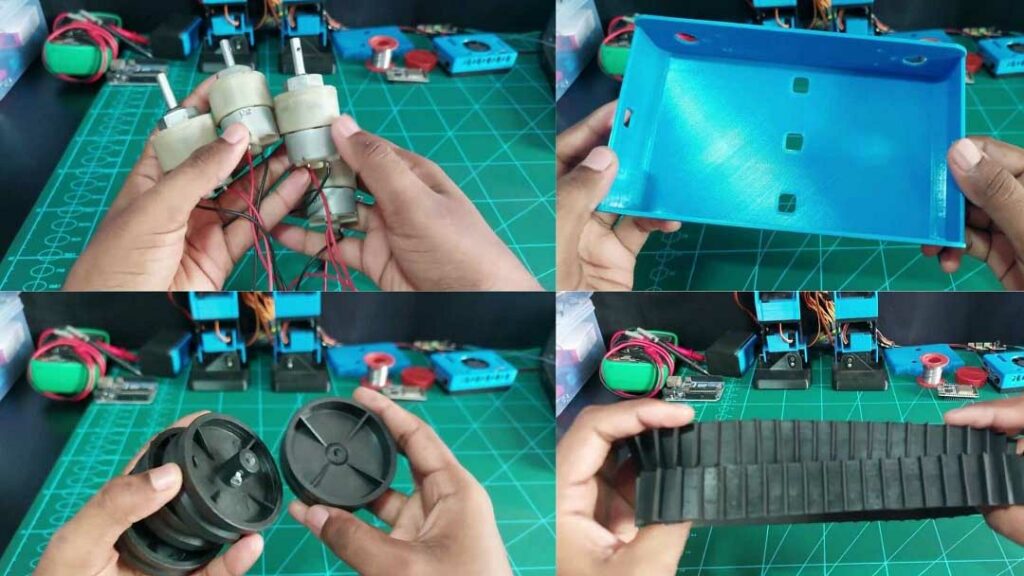
I recommend you to use the type of gear motors as shown above these are way much stronger than so called BO motors.
These motors run with metal gears inside were as BO motors use plastic gears that wear out much easier.
These add more sturdiness to our overall project, with these materials on your table we can build a body.
To build a body just attach motors to four sides of the case or chassis.
Take a note of motor wiring by referring to the visuals below.
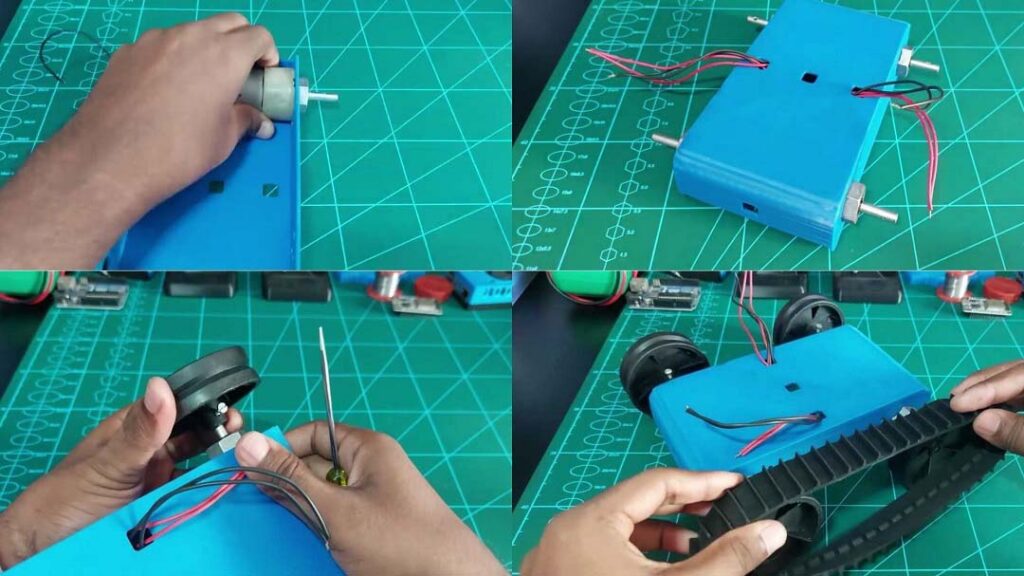
After you add motors to all sides, clamp them firmly using a metal nut that comes with the motor.
Later use wheels that will be connect to shafts of motors.
In the end add rubber chain to the wheels, I think making a body is very easy part and with these steps it is even easier.
Circuit Diagram for Raspberry Pi based obstacle avoiding robot
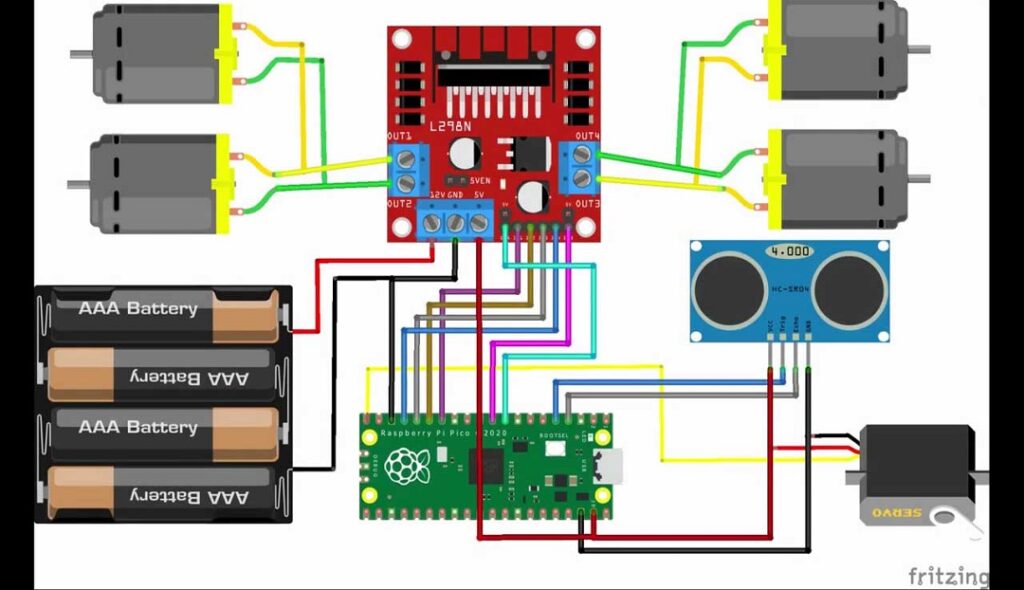
Credit for this Circuit diagram goes to Hash Robotics
This is a very simple circuit diagram for this pi pico based robot, I made use of a mini breadboard to make circuit connections.
L298N requires a 12v dc supply to function properly so I used a 12v rechargeable battery pack.
L298N has 3 terminals 12v, gnd and 5v.
12v and gnd will be for input whereas 5v will be output along with common gnd.
Rest of the connections can be made easily following the circuit diagram above.
Once all the connections are ready you can add this to the premade body that we made earlier.
The wires coming out of the chassis is connect directly to the motor driver.
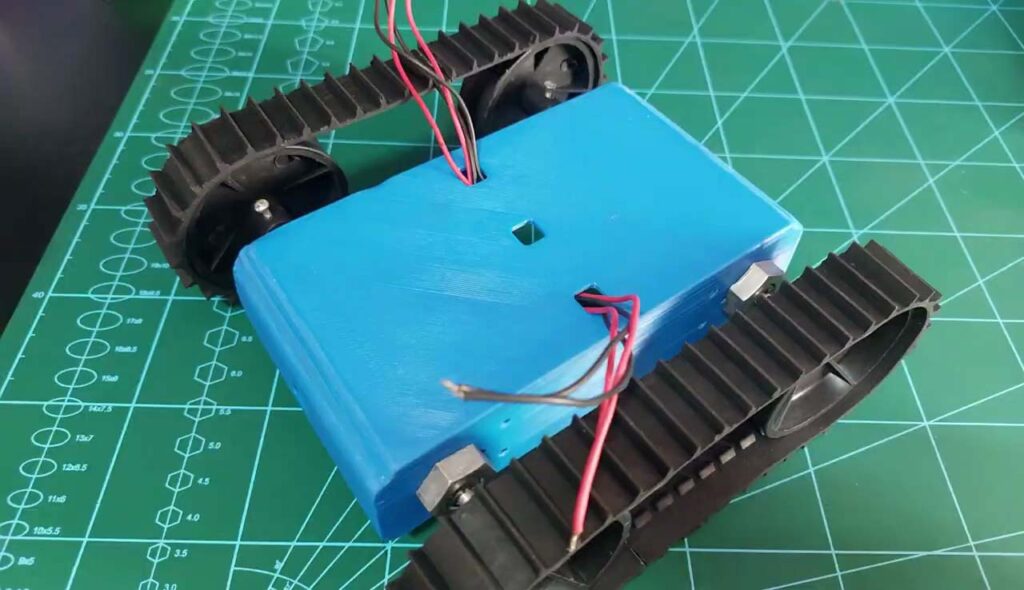
To begin with use double side gum tape to attach the micro servo to the chassis.
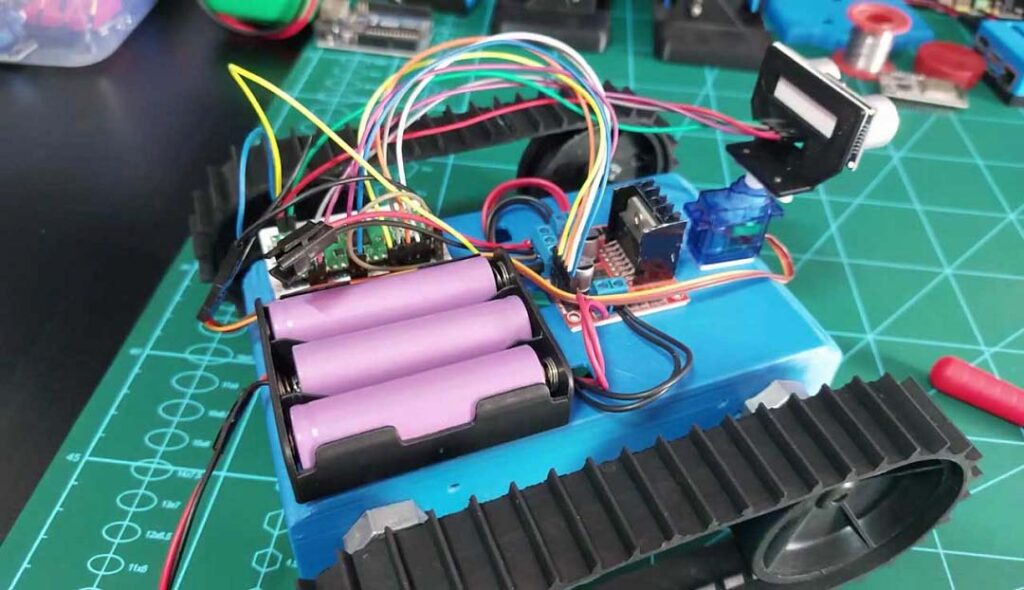
I have made 3d printed holder for the ultrasonic sensor that was attached to micro servo horns and later to the ultrasonic sensor.
Using the same gum tape attach the breadboard, motor driver, and battery to the chassis.
After you finish the circuit our project looks as shown in the visual below.
Make sure you do not connect the battery to this circuit before uploading the code.
Code for Raspberry Pi Pico obstacle avoiding robot
Use This code for obstacle avoiding robot using raspberry pi pico.
You can save this on your desktop after unzipping the file.
Follow these steps to upload code for raspberry pi pico
- Install Python and Thonny IDE into your system.
- Using micro USB connect pico to your system by pressing the boot button on pico board.
- You will get a notification once your pico is connected to computer.
- Now open Thonny IDE and in tools click on options and then in interpreter drop-down select MicroPython (Raspberry pi pico) option.
- In port leave it for default settings and then click ok, now you can install MicroPython.
- It immediately installs now click on ok.
- Check if everything is working properly by entering the test program in shell.
- Shell is terminal whihc can found below IDE
- Just type print(“test”)
- If the same appears below when you press enter you are good to go.
- Now from the menu, select file then open the program which was saved on desktop by clicking on this computer option.
- Now you have your program ready, Run the current script (green symbol on the menu section).
- Connect the battery and check if everything is working fine.
- Once it is verified go to file then save as
- Click on raspberry pi pico and save the file name as main.py
- If you are not doing thisprogram will not be saved on board.
- Now everything is complete, saving on board will execute program whenever the board is powered up.
Now connect the battery source to the board and check if your robot is working fine.
If you followed all the exact same steps it should work without any issues. if you face any issues you can comment on the below video.
Don’t miss to check the working of this Raspberry Pi pico Based Obstacle Avoiding Robot HERE
That was a complete report on Raspberry Pi based obstacle avoiding robot.
Hope it is well explained with no rooms for any doubts if you have any suggestion for improvements let me know.
You might also like our previous post on Machine learning